
Deployment Manager
In the AppOps module, the “Import Release Config” sub-module allows you to upload application-related configuration details to the VRT (Vahana Run Time) module by using the manual export-import mechanism. To use this feature, the VRT Type property of the currently used environment (for example, SAND_BOX) must be configured with “Export” option.
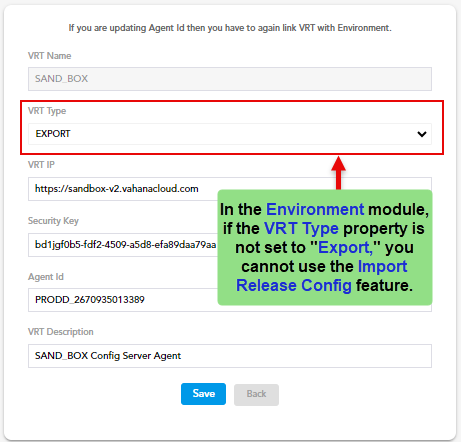
After you set the VRT Type property to Export, you can manually export configuration details locally and then import them to VRT by using the Import Release Config feature. You can understand this export-import mechanism as follows:
Assume, you are developing an application by using the vDesigner module. You have added a new Submission_Page to the application.
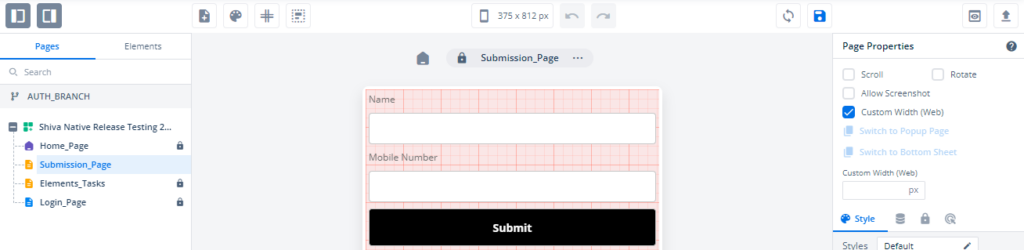
On the vDesigner module’s toolbar, you click Save and then click Commit to save the latest configuration details. To import these configuration details, you first need to export them manually as follows:
Exporting Configuration Details
To import the application’s configuration details, you first need to export them by using the Deployment module in the Vahana cloud. The Deployment module allows you to export the application’s configuration details to the local system.
To export the configuration details:
- On the Vahana portal’s home page, put the mouse pointer on the left panel.
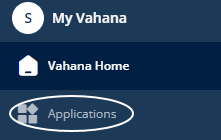
- In the left panel, click the Applications icon (
 ) to display the Applications page.
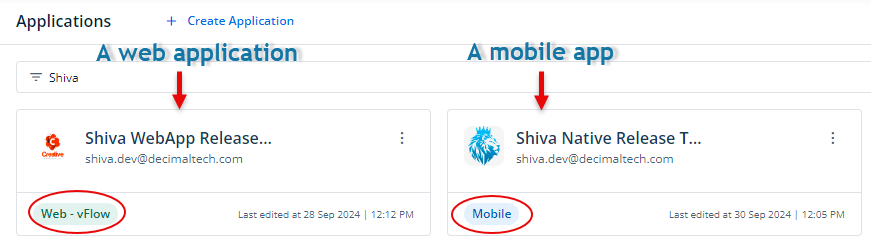
 - On the Applications page, find the application (for example, Shiva Native Release Testing) to export its configuration details.
Note:- You can export configuration details of all types of applications, such as middleware applications, mobile apps, and web applications.
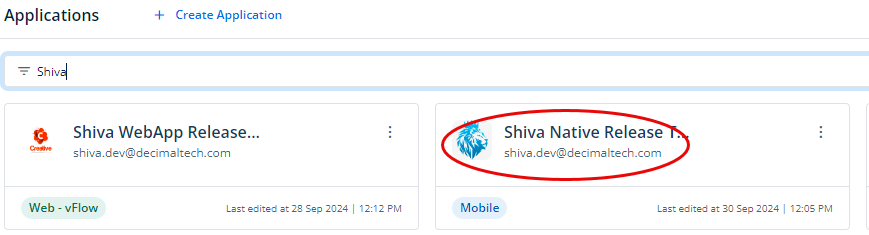
- After you find the application (for example, Shiva Native Release Testing), click it to display the Dashboard page.
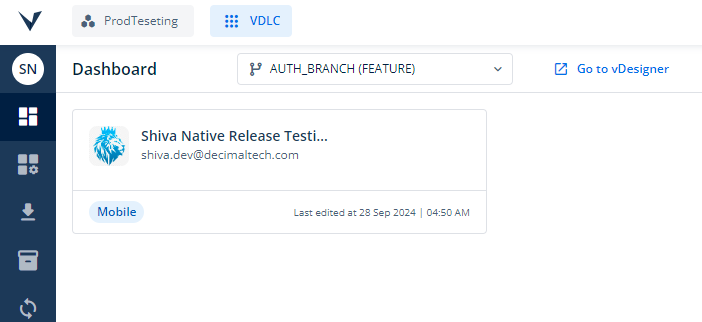
- On the Dashboard page, put the mouse pointer on the left navigation panel.
- In the left navigation panel, click the Deploy icon (
 ) to display the Deploy page.
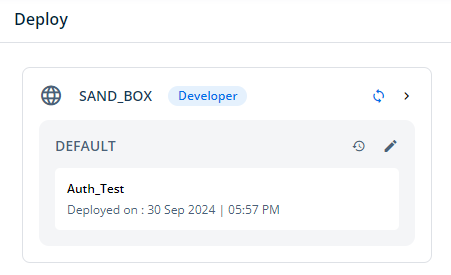
- On the Deploy page, find the <<Environment Name>> (for example, SAND_BOX) tile.
- On the <<Environment Name>> (SAND_BOX) tile, click the Export icon (
 ) to display the Confirm “Export” dialog box.
 - In the Confirm “Export” dialog box, click Confirm to export the configuration details.
- The Save As dialog box opens.
- In the Save As dialog box, determine the location on your computer system where you want to export the configuration details.
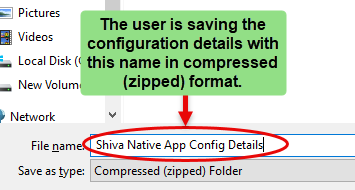
- After you find the location, click Save in the Save As dialog box to download the exported data in compressed (zipped) format.
Importing Configuration Details
After you successfully export configuration details, you can import them to VRT by using the Import Release Config module. To import configuration details:
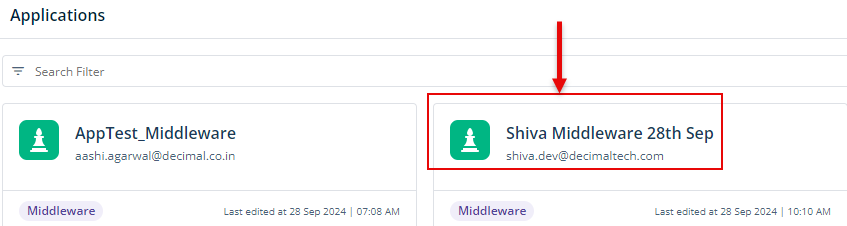
- On the Applications dashboard, click an application as follows:
Case1:- (If you click the middleware application on the Applications dashboard)
- If you click the middleware application (for example, Shiva Middleware 28th Sep), the right panel displays the Service Testing page.
- On the Service Testing page, put the mouse pointer on the left panel.
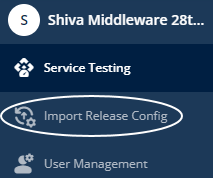
- In the left panel, click Import Release Config to display the Import Release Config page.
Case2:- (If you click the mobile app or web application on the Applications dashboard)
- If you click the mobile app or web application, the right panel displays the Import Release Config page.
- On the Import Release Config page, click the Select Environment list.
- In the Select Environment list, select an environment (for example, SAND_BOX).
- After you select an environment, the Import Release Config page displays details of earlier imported files (if you have imported the configuration details earlier).
- On the Import Release Config page, click Upload file to display the Open dialog box.

- In the Open dialog box, find the exported file in compressed (zipped) format.
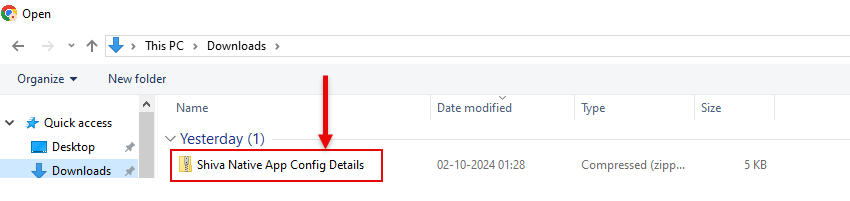
- After you find the exported file, click to select it, and then click Open in the Open dialog box to start importing the file.
- The Import Release Config module starts importing the file to VRT (Vahana Run Time).


Understanding Import Release Config Table
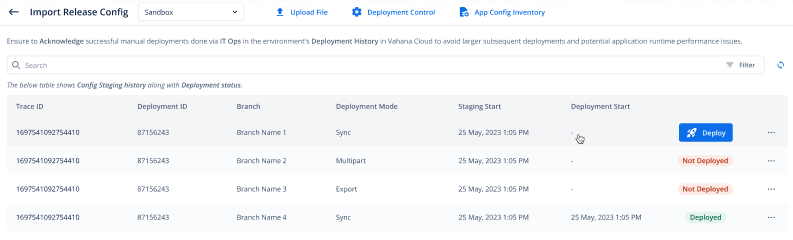
- Trace ID: A unique identifier generated for each import action. This helps you trace and debug the specific import request if needed.
- Deployment ID: It is a unique identifier that the Vahana cloud generates and then assigns to a deployment activity. When you acknowledge a successful deployment on the Vahana portal, you find the import activity based on the unique deployment ID.
- Branch: Displays the branch name. This branch name specifies that the import function imported the application’s configuration from this branch. This helps in identifying the source branch of the release data.
- Deployment Mode: This column displays the deployment mode in which the configuration was imported. It can display one of the following values:
- Sync: This value specifies that the user deployed the configuration details by using the Deploy mode. The Deploy mode can be used with two options: Immediate and Staging.
- Multipart: Imports zipped files in multiple parts through a secured HTTP request.
- Export: Imports and then exports the application configurations through Import/Export feature. After you import the configuration details to the Vahana cloud, you export them from the Vahana cloud to the VRT by using the Deploy button.
- Staging Start: Displays the date and time when the staging process began storing the configuration details in the database.
- Deployment Start: Displays the date and time when the actual deployment began moving the configuration details from the Vahana cloud to VRT.
- Status and Deploy: The last column displays the status of the deployment and the Deploy button. When you click Deploy, it deploys the configuration details on VRT. This column may display one of the following values related to the deployment activity:
- Deployed:- This value specifies the configuration details were successfully deployed on VRT.
- Not Deployed:- This value specifies that the user imported the application’s new configuration details without deploying the last configuration details. If the user imports the new configuration details, the record of the last deployment activity starts displaying the Not Deployed text in the place of the Deploy button.
Creating an Acknowledgement Code
AfterYou successfully deploy the configuration details by clicking the Deploy button, you need to create an acknowledgement code. Later, you use the acknowledgement code on the Vahana cloud to acknowledge the successful deployment on VRT.
After you successully deploy the configuration details, an eye icon (![]() ) starts appearing to the right of the “Deployed” text. Click the eye icon (
) starts appearing to the right of the “Deployed” text. Click the eye icon (![]() ) to display the Acknowledgement Code box. The Acknowledgement Code box displays a four digit unique acknowledgement code.
) to display the Acknowledgement Code box. The Acknowledgement Code box displays a four digit unique acknowledgement code.
You need to use the copy icon (![]() ) to copy this acknowledgement on the Vahana cloud portal.
) to copy this acknowledgement on the Vahana cloud portal.
To learn how to use the acknolwedgement code on the Vahana cloud, visit the post, Deploy.