
Creating a New API Instance
After you access the API module, you can create a new instance of an API that you have configured and published on the vConnect portal.
To create an API:
- On the API’s dashboard, click Create New to displays the Create New page.
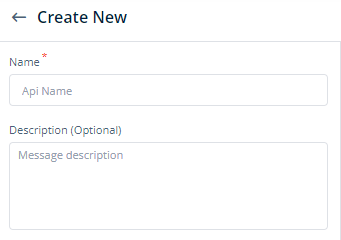
- On the Create New page, in the Name box, enter the API’s name (for example, gstAuthentication).
- In the Description box, enter a brief reason to create the API or function of the API.
- After you enter the name and description of the API, see the Services area.
- In the Services area, select a service (for example, GST_ADVANCED_AUTHENTICATION) to create its instance.
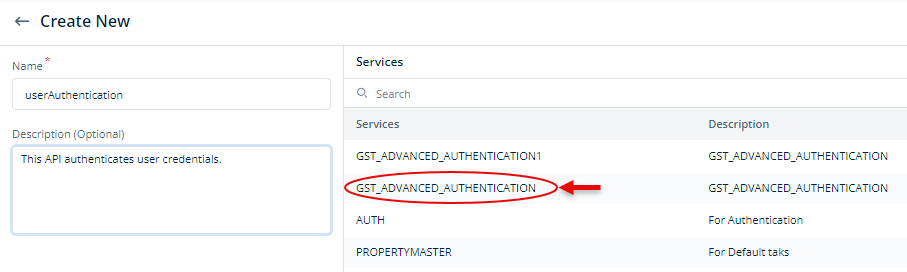
- After you select the service, the Info panel expands.
- In the Info panel, click Consume, and the Services panel displays the following sections:
- Request Parameters
- Response Parameters
- After you consume the service, you need to configure the request parameters. The next section describes how to configure the request parameters.
Setting Request Parameters
This activity allows you to define the request parameters of an API. When an app posts the API request, it picks the data from the element, attribute (entity), or function. You can configure the request parameters as follows:
- In the Services panel, under Request, click the Body tab.
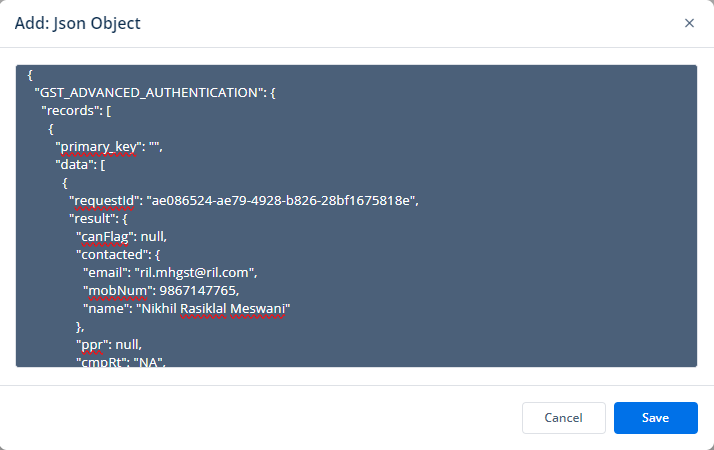
- In the Body tab, click Add Object to display the Add: Json Object dialog box.
- In the Add: Json Object dialog box, enter the code of the JSON object.
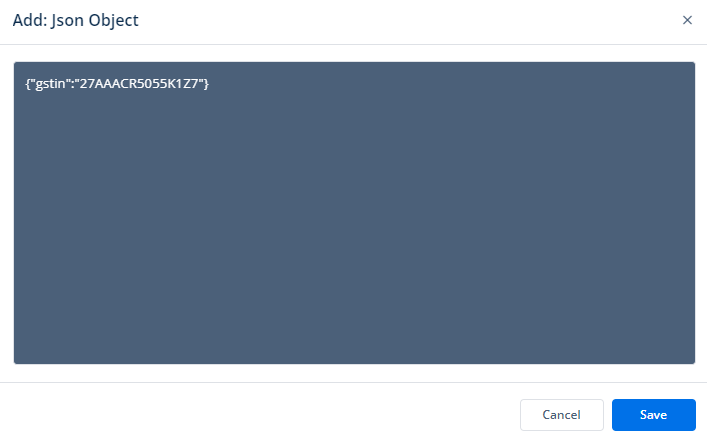
- After you enter the JSON code, click Save, and the Services area displays two panels as follows:
- JSON Object:- It displays the list of attributes in the JSON structure.
- Key Name:- In this panel, you need to select a key. When the app invokes the API, the API picks the value from the related key and stores it in the related attribute.
- Under JSON Object, find the attribute (for example, Gstin) that you want to map to a key.
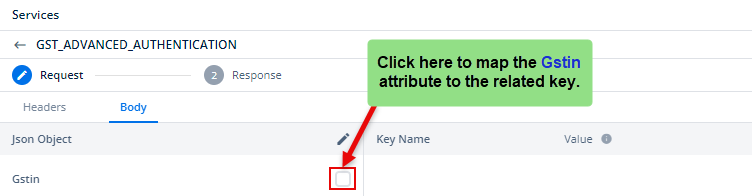
- After you find the attribute, click the right check box, and a key name (for example, gstin) comes into view with the Value check box.

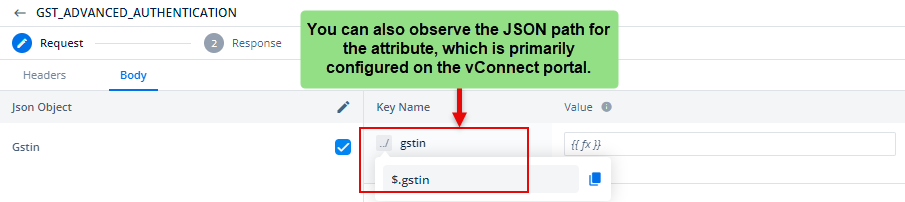
- In the Key Name panel, click in the Value box to expand a smart selector.
- The smart selector displays the following:
- Elements (Reference name of elements)
- Attributes
- Functions
- In the smart select, select the element, attribute, or function (for example, InputField_9340).
Note:- After you select an item (element, attribute, or function) in the smart selector, the API request picks the value from the selected item.
- If you have more than one attribute in the request, repeat steps from step 5 to step 9.
- After you configure all request parameters, click Next to configure response parameters.
After you click Next, the Services panel dislays the Response area. To configure the response parameter, see the next heading section:
Setting Response Parameters
In the Services panel, the Response area displays the Complete tab by default. In the Complete tab, you configure a complete response that the API will return to the app. You can configure the API response as follows:
Case1:- (If you want to return a complete API response)
- In the Complete tab, see the Output Location box.
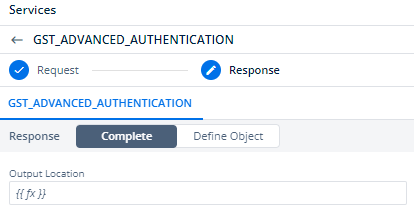
- Click in the Output Location box to expand a smart selector.
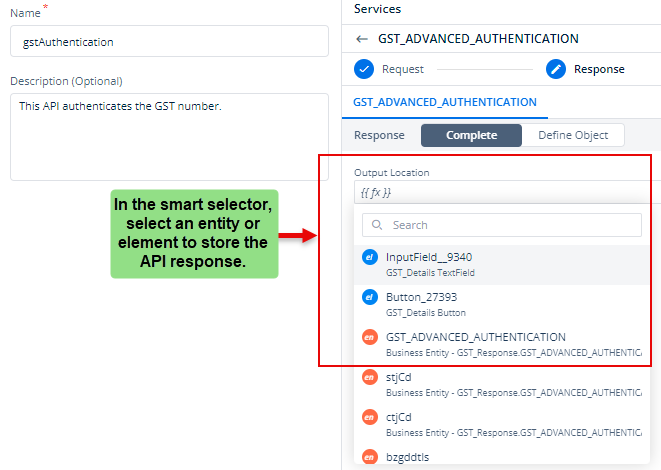
- In the smart selector, you can select the following items:
- Element:- In the smart selector, you can select an element when you want to display a single data response, such as a boolean value, unique identification number, status, etc.
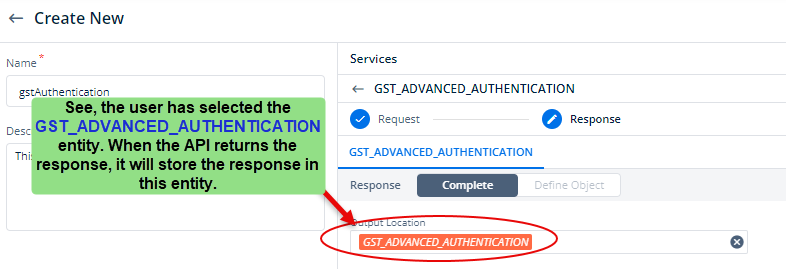
- Entity:- In the smart selector, you can select an entity if you want to store a set of data that the API returns as a response.
- After you select an entity or element, click Review and Save to configure the API.
Case2:- (If you want to return a partial API response)
If you want to return a partial API response, you need to define a customized JSON structure. To define a customized JSON structure:
- In the Services panel, in the Response area, click the Define Object tab.
- In the Define Object tab, click Add Object to display the Add: Json Object dialog box.
- In the Add: Json Object dialog box, write or enter the response in the JSON code.
- After you enter the JSON code, click Save to configure the API response.
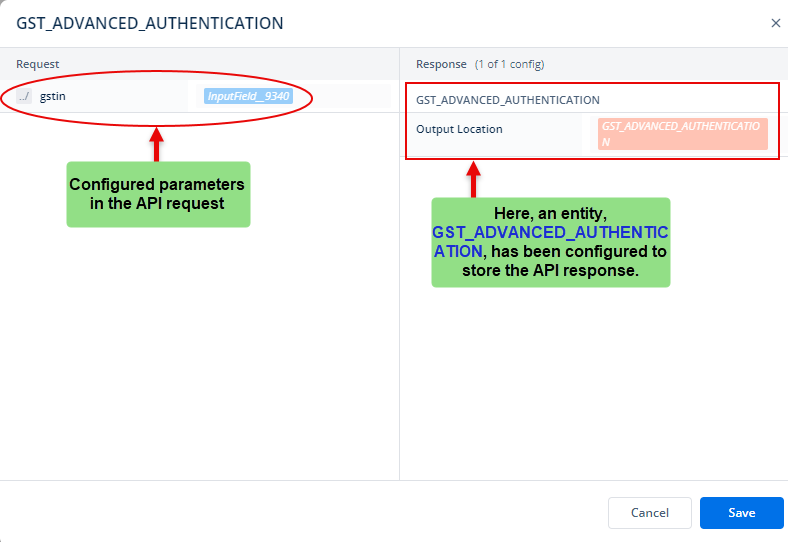
- Click Review and Save to configure API, the <<API Instance Name>> (for example, GST_ADVANCED_AUTHENTICATION) dialog box opens.
- The dialog box displays the configuration details of the API’s instance that you have defined in the request and response.
- After you review the configuration details of the API instance and make sure that they are correct, click Save.
- On the Create New page, click Create to create a new instance of the API.
- After the new instance of the API is successfully created, the APIs page displays the new API’s instance in a list.
