Integrating Two Feature Branches
In the Config Management module, this feature allows you to integrate two feature branches. Assume two software developers are working on an app in two different branches, Feature_2 and Feature_3. When these software developers complete work on the app in the Feature_2 and Feature_3 branches, they can merge the app-related changes in the Feature_2 and Feature_3 branches.
Let’s see what the users (software developers) have added to the App11/12 in the Feature_2 and Feature_3 branches.
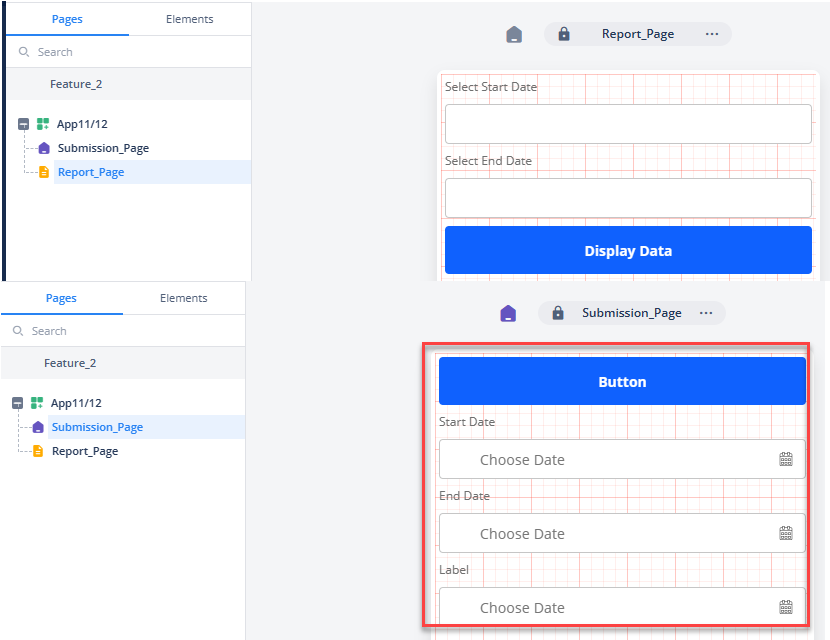
In the Feature_2 branch, the App11/12 has the following items:
- Submission Page
- A push button and,
- Three text fields
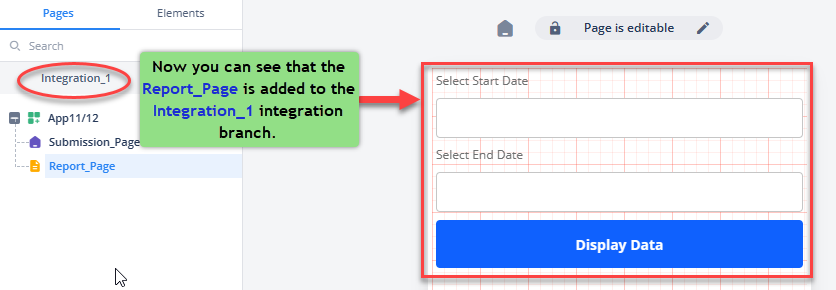
- Report_Page
- Two text fields
- A button
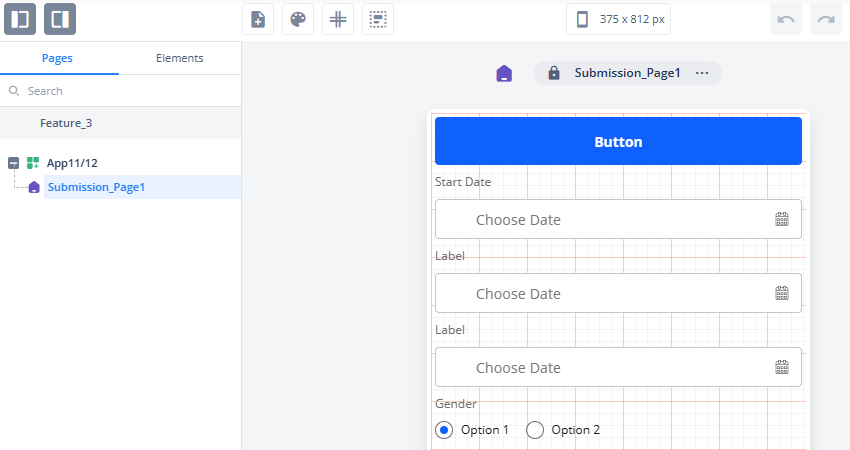
In the Feature_3 branch, the App11/12 has the following items:
- Submission_Page1
- A button and,
- Three text fields
You can perform the following steps to integrate these two branches:
To integrate/merge two feature branches:
- On the Vahana cloud’s home page, see the left panel.
- In the left panel, find the nine-dot icon (
 ).
). - Click the nine-dot icon (), and the left panel expands.
- In the left panel, under Modules, under DevOps, click Config Management, and the Applications page opens.
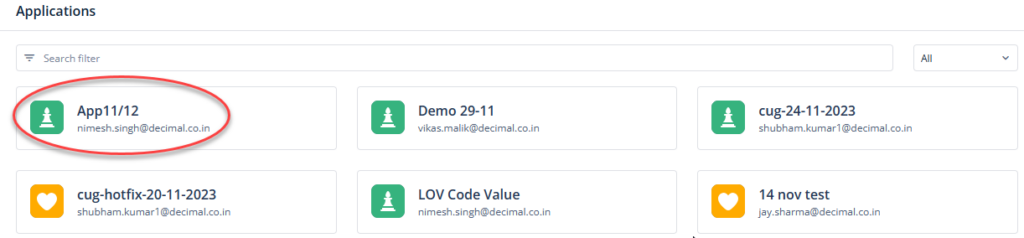
- On the Applications page, find the application (for example:- App11/12) to merge its two versions that are available in two different branches.
- After you find the application (for example:- App11/12), double-click it, and the <<app name>> page opens.
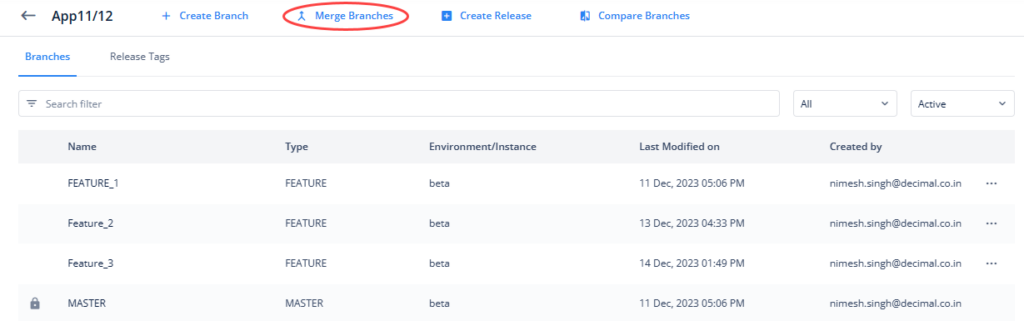
- On the <<app name>> page, click Merge Branches, and the Create Integration dialog box opens.
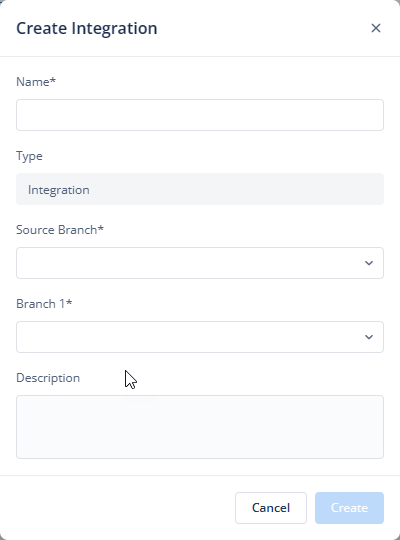
- In the Create Integration dialog box, enter details as follows:
| Field/Box/List | Description |
| Name | In this box, enter the name of the integration (for example:- Integration_1) branch that you create after you merge two different feature branches. |
| Type | By default, this box displays “Integration.“ The “Integration” value means that you are going to create an integration branch as a result of two branches’ merging. |
| Source Branch | Click this list and then select a branch. The selected branch is treated as a source branch. When you integrate two feature branches, the changes from the destination branch are pulled into the source branch. |
| Branch1 | Click this list and then select a secondary feature branch (Destination branch). When you integrate two branches, the changes from the destination branch (Branch1) are pulled into the source branch. |

- After you select the source feature branch and the destination feature branch, click Create, and the Resolve Conflicts page opens.
While integrating two different feature branches, if the Config Management module displays the Resolve Conflicts page, it means that both branches have different components. These changes can exist at the page, element, task, task group, business rule, and other levels.
Conclusively, the Resolve_Conflicts page comparatively displays the items in the destination branch that can be added or removed before the items from the destination branch are pulled to the source branch.
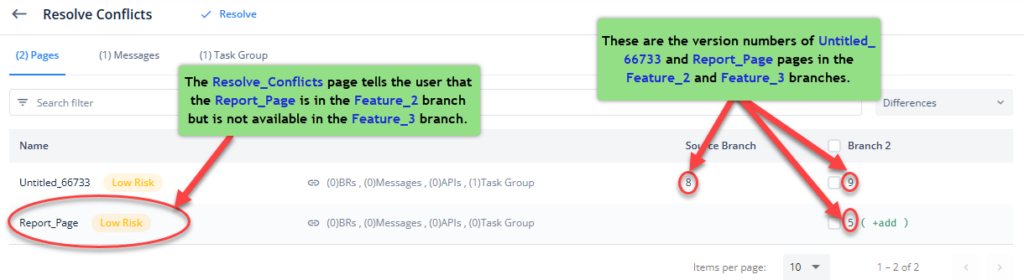
In the above screen capture, the Resolve_Conflicts page tells the user that the Report_Page is in the Feature_2 branch (Branch2) but is not available in the Feature_3 branch (Source Branch). On the Resolve_Conflicts page, you can perform one of the following functions:
Case1:- (If you want to add the Report_Page page to the Integration branch)
- Under Branch2, find the item (for example:- Report_Page) that can be added or removed before integration.
- After you find the item, click the related check box, and then click Resolve, and the Resolve Conflicts dialog box opens.
Note:- The Resolve Conflicts dialog box displays the number of items that will be added to the source branch during merging.
- On the Resolve Conflicts dialog box, click Resolve, and a dialog box opens and then displays the message: “All the conflicts have been resolved. Now you’re in sync with the master branch.”
- On the dialog box, click Okay to successfully merge two branches.
Case2:- (If you do not want to add the Report_Page page to the Integration branch)
- Click Resolve, and a dialog box opens and then displays the message: “All the conflicts have been resolved. Now you’re in sync with the master branch.”
- On the dialog box, click Okay to successfully merge two branches.
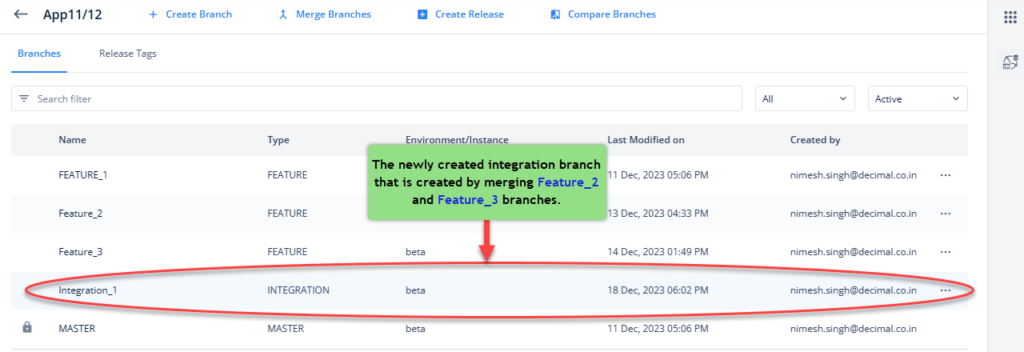
On the Config Management module’s dashboard, you can find the newly created integration branch, as shown in the following screen capture: