
Configuring API Call on Button
You will configure an API call on the “On Click†event of a button if you choose to display list by using REST API. If you choose the database view to display list on the mobile app, you will not configure the API call on the “On Click†event of a button.
To configure an API call:
- In the vDesigner application, see the left pane.
- In the left pane, click Elements and then click Standard, and the navigation pane expands.
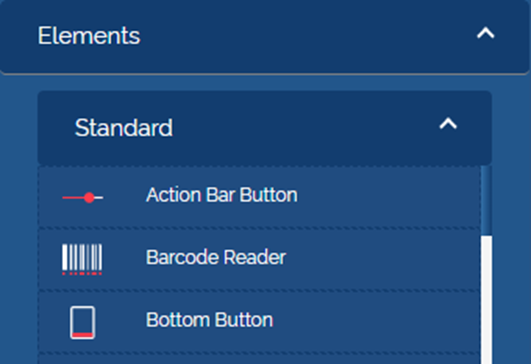
- Under Standard, click Bottom Button, and the Bottom Button dialog box opens.
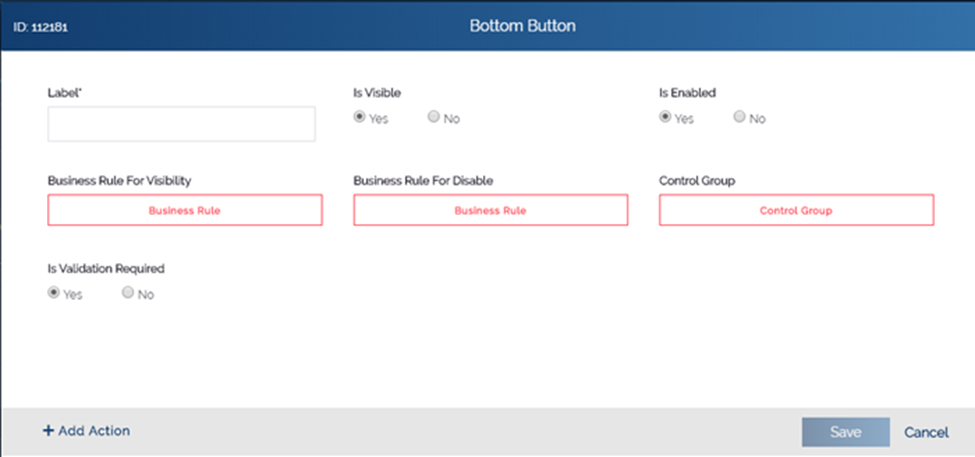
- In the Label box, enter the name of button (For example: – View).
- In the Bottom Button dialog box, click Add Action, and the Action dialog box opens.

- In the Action dialog box, click On Click, and the Task dialog box opens.
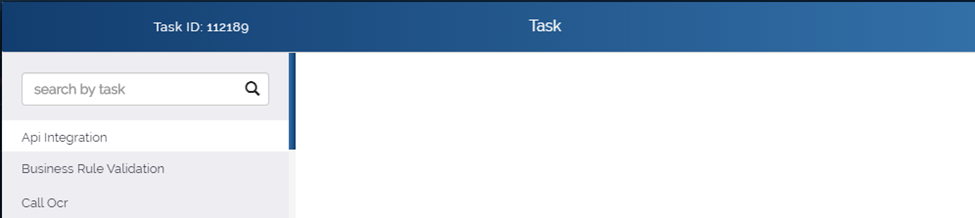
- In the Task dialog box, see the Search by task box.
- In the Search by task box, enter API integration, and the API Integration task starts appearing.

- Click the API Integration task, and the Api Integration dialog box opens.
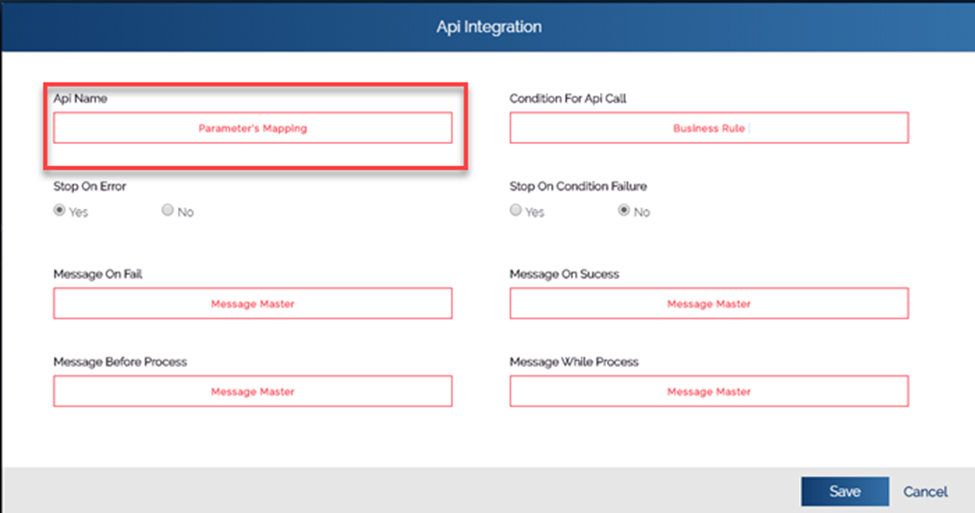
- In the Api Integration dialog box, click Parameter’s Mapping, and the Data Connect dialog box opens.
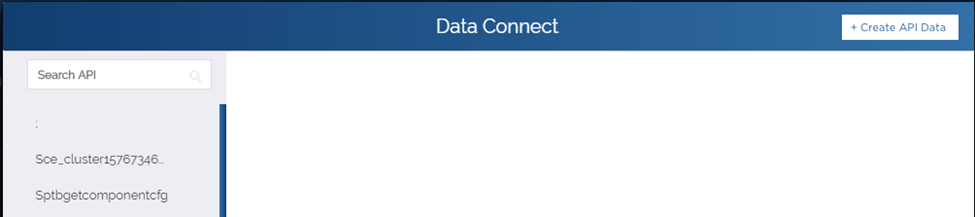
- In the Data Connect dialog box, the left navigation pane displays the list of existing API(s).
- In the Search API box, enter the name of API (For example: – Identity) that you want to configure.
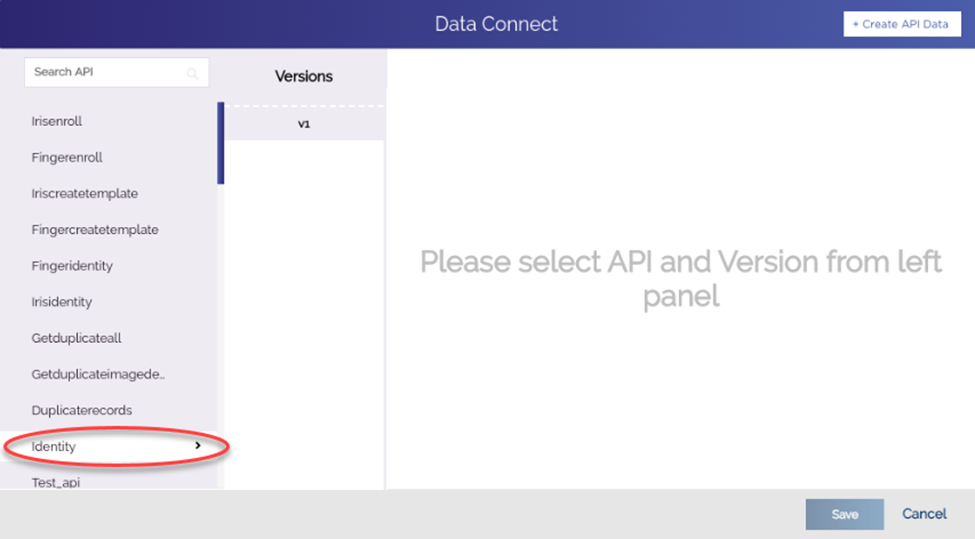
- After you see the API (For example: – Identity), click it, and the Data Connect dialog box displays the version number (For example: – v1) of API.
- In the middle pane, click the version number (For example: – v1) of the API, and the right pane displays two tabs: Request Parameters and Response Parameters.
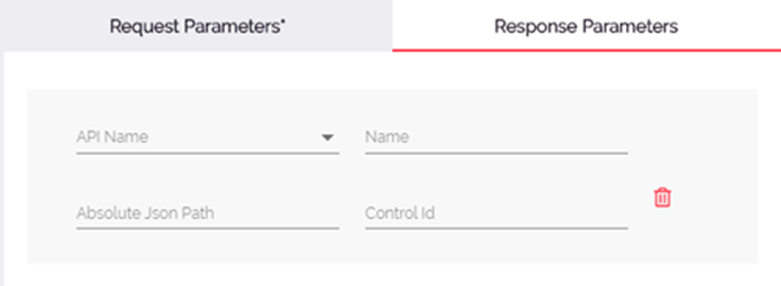
- In the right pane, click the Response Parameters tab, and it displays the following fields:
- API Name
- Name
- Absolute JSON Path
- Control Id
- In these fields, enter the values as follows:
| Field | Description |
| API Name | Click this list and then select the API (For example: – Identity) that you want to bind with the “On Click†action of the bottom button. |
| Name | In this field, enter the name of response parameter of the API that holds specific value that the API fetches from the database. |
| Absolute JSON Path | In this field, define the JSON path of entity where the data will be stored. You can define the JSON path as follows: $.POD.DUPLICATE In this JSON path, the keyword: DUPLICATE is the entity that you define by using the Entity And Relationship module. In the JSON path, DUPLICATE is treated as the array type JSON object where entire dataset is stored. To know more about entity and the relationship between two entities, visit the heading section: Creating New Entity and Defining Relationship between Entities. |
- After you enter the details of first response parameters of the API, enter the details of next response parameter as described in the heading section.
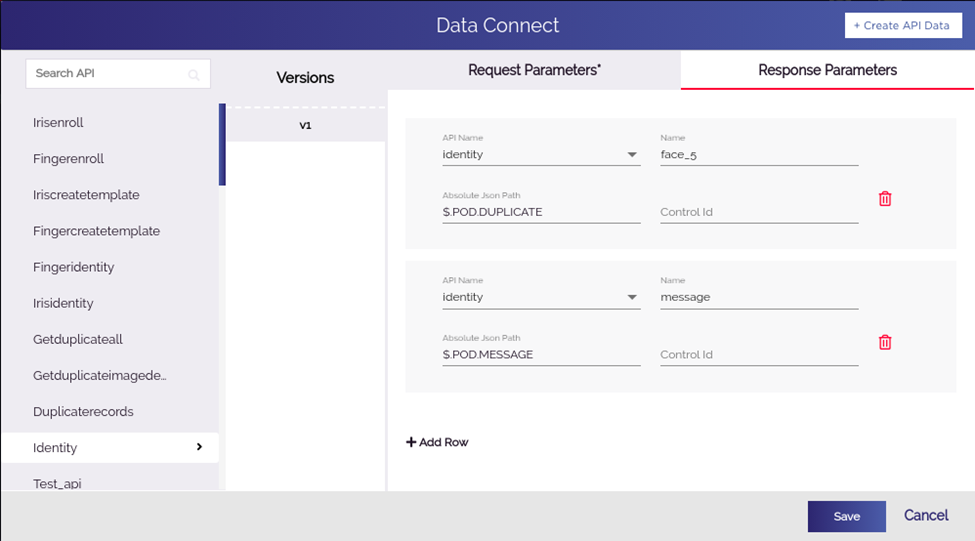
| Note:- In the screen capture, if you look at the details of the second response parameter: message, you will find that the JSON path is defined as $.POD.MESSAGE. As you can notice that this JSON path does not reference the DUPLICATE entity. It references the MESSAGE object. In the $.POD.MESSAGE JSON path, the MESSAGE keyword is treated as a simple object, which is declared in the JSON path to store the message string that the message response parameter fetches from the data source. The MESSAGE keyword is not treated as array type JSON object If you want, you can change the name of MESSAGE object to MESSAGE_1. It is a simple object, which is used to store random message string. That is how you define the entity or simple object in the JSON path based on the type of data that you receive in the response from API. |
- To enter the details of next response parameters, click Add Row and then enter the details of parameter as described in the last table.
- After you enter the details of all parameters, click Save to close the Data Connect dialog box.
- In the API Integration dialog box, click Save to close the API Integration dialog box.
- In the Task dialog box, click Save to close the Task dialog box.
- In the Action dialog box, click Save to close the Action dialog box.
- In the Bottom Button dialog box, click Save to successfully configure the API on the “On Click†action of the button.
Was this article helpful?
YesNo