
Control Disable
When you apply this task to a specific element, the application displays this element as an inactive element. The end user cannot perform the function on the inactive element. To make the control or element inactive, you need to select the page, layout, row, and column that contain the element.
To configure the Control Disable task:
- In the Events dialog box, scroll down.
- Under Add Tasks, click the Select Task list, and then select CONTROL_DISABLE.
- Click Add Task Config, and the Add Task dialog box opens.
- In the Add Task dialog box, click the Configuration area to expand it.
- In the Configuration area, select the IDs of different entities as follows:
Note:- Under Configuration, different tabs, such as Control Path 1, Add Control Path 2, allow you to make more than one control inactive on the page.
| Property | Description |
| Select Layout ID | In this field, select the page’s layout that contains the component where you want to configure the element as disabled. You can see the name of the page’s layout in the configuration details of the row and column components. 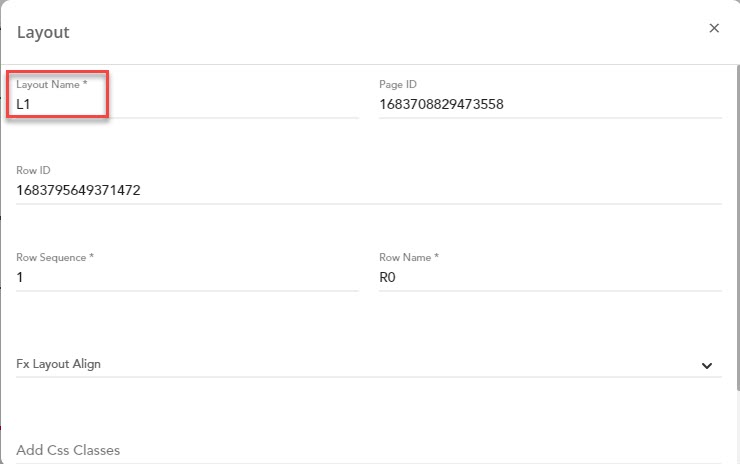 |
| Select Row Index | In this field, select the index of the row that contains the component. |
| Select Column Index | In this field, select the index of the column that contains the component. |
| Select Page ID | In this field, select the page that contains the component. |
| Select Component ID | In this field, select the component that contains the element.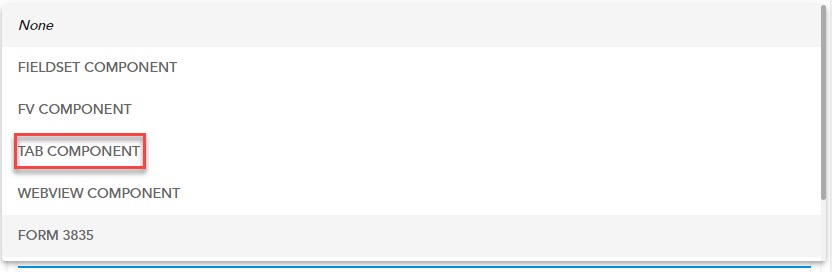 |
| Select Element ID | In this field, select the element that you want to make inactive or disabled. |
- After you select the values in the related fields, click Submit to configure the task.
Was this article helpful?
YesNo