
Data Source
Definition
A data source is a is front-end incorporated data storage layer. It is not a RDBMS (Relational Database Management System). The data source binds the data to an entity. The data storage is used to manage the data.
When the user enters the data in the application and then submits it, the data is stored in the data source. Also, the front-end application-integrated services are used to fetch the data from the data source and then display it to the user on the application.
The vFlow integrated data source has the following options to integrate with the front-end application:
- Online
- Object
- Mock
- URL and Webview URL
Let’s discuss these options broadly as follows:
Online
A data source is a location where the data is created, managed, and manipulated. Conclusively, a data source may be a database, a flat file system, live measurements from physical devices, scraped web data, or one of the static and streaming data services that you can find across the Internet.
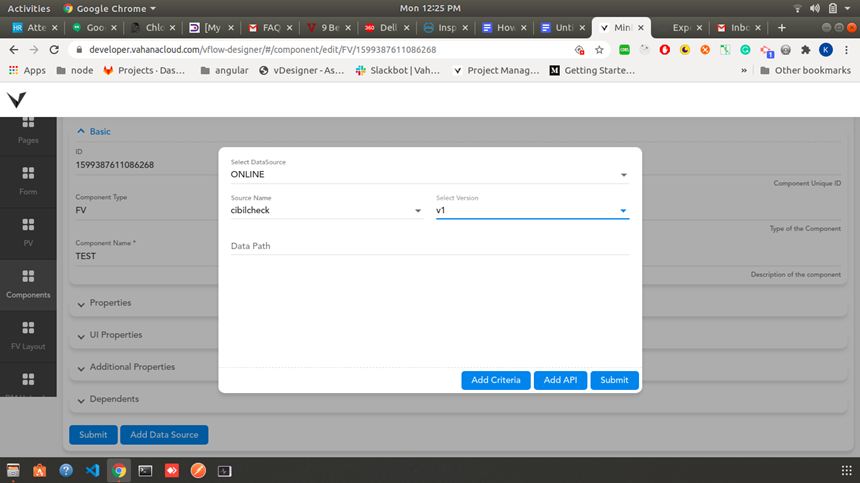
You can use the ONLINE option to get the data from an API (service). To call an API, you need to add the name and version number of the API. To integrate an API with the application, the API must be configured and published on the vConnect portal.
In the datapath, you need to provide a JSON path that the application will receive from the API.
Note:- If you are not using the API section by clicking Add API, the data obtained from the API needs to be in following format:
{
APINAME:{
OBJECT:{
//data that you use in the component.
}
}
}
Use the “Criteria” object to send the data from the application to the server by using the key-value pair. For instance:- Let’s say you want to send the user ID or set of user-details to the server and then fetch the data from the server on the basis of the user-details.
In the key/value pair:
- The key is the attribute
- The value is the attribute’s value
Note:- For the fixed value, use the hardcoded value like abc@gmail.com. For the data that is received from the object, use the method: getVal(‘PATH_FORM_MASTER_OBJECT’);
Use the API section when you define multiple APIs for a single service or when the data is not in the aforementioned format. The following are the keys that are used in the API section:
| Key Name/Attribute Name | Description |
| Name | It stores the API’s name. |
| DataPath | It specifies the data path from which the application gets the data from the response object. |
| Success DataPath | This attribute defines success rule for the API. It helps ensure whether the API is successfully executed or fails to execute. |
| Success Value | The success value is matched against the success data path. |
For instance:- Let’s consider you receive the following response from the service/API that you have configured on the vConnect portal:
{
APINAME:{
“Status”: “true”,
Data:{
//some data needs to be used in component
}
}
}
In the aforementioned syntax, the attributes or keys will have the following values:
| Key Name/ Attribute Name | Value |
| Name | API Name |
| DataPath | getVal(‘Data’) |
| Success Datapath | getVal(‘Status’) |
| Success Value | True |
Object
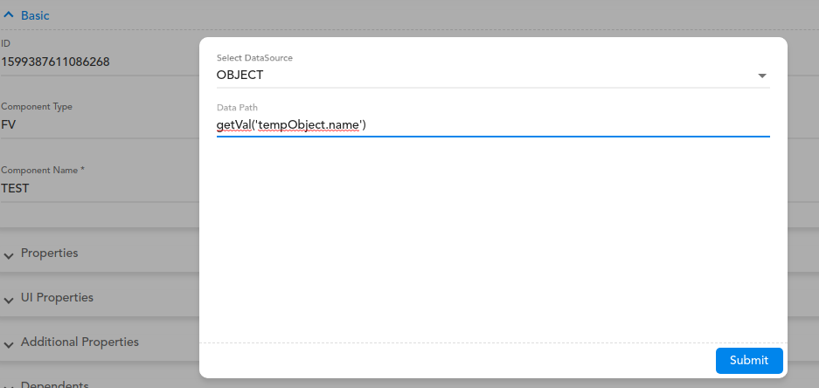
The “Object” data source control uses the reflection technique to create instances of the business objects. After creating the business objects, it calls the methods to retrieve, update, insert, and delete data. You need to choose an “Object” type data source when a data is already present in the data object. The “Object” type data source is used to fetch the data from the master object by using the getVal ( ) method.
# Sample code to define “Object” type data source
{
tempObject:{
data:{id:1,name: “abc”}
},
P101:[{status:active}]
}
To fetch the data, use the statement as follows:
getVal(‘tempObject.data’) or getVal(‘P101’)
Mock
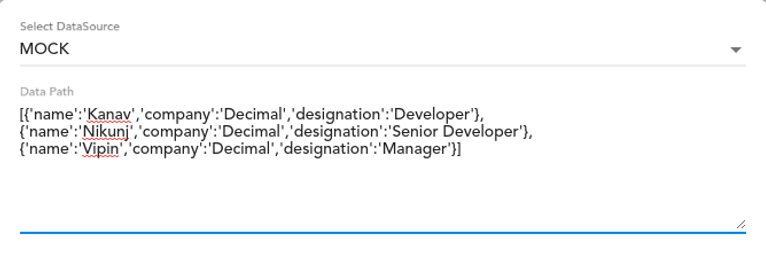
The “Mock” type data source is a dummy piece of code. You check and ensure if this dummy code is called or invoked correctly. You can use the “Mock” type data source for the testing purposes. In many scenarios, the application developer uses the dummy code to test the component and ensure how the component will look after the data is added to it.
The following screen capture depicts the dummy code in JSON format.
Note:- In the dummy code, the data must be in string format.
To add the data source:
- Go to a component or page.
- Click the component (for example:- FV Component), and a pop-up box opens.
- In the box, click the Edit icon (
 ), and the component page opens.
 - Under the Component tab, scroll down and then click Add Data Source, and a dialog box opens.
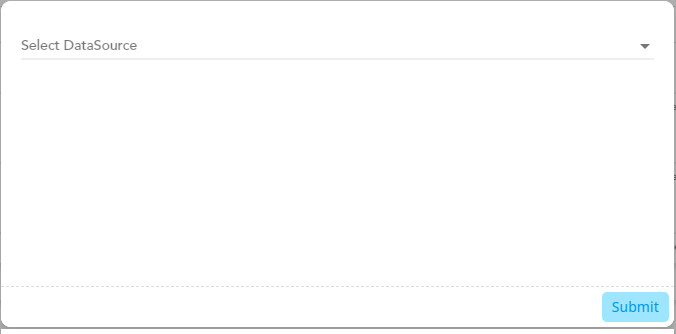
- In the dialog box, click the Select DataSource list, and the list displays the available data sources.
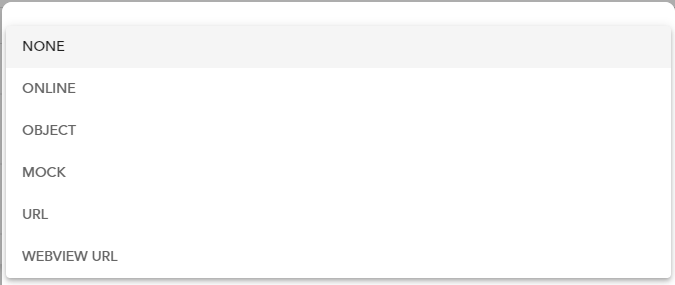
- In the list, select a data source (for example:- Mock).
- After you select the data source, the Data Path field appears.
- In the Data Path field, enter the path of the data source.
After you define a data path, the application will access the data source by using this data path and fetch the data from the data source or store the data in the data source.
Note:- You cannot add the data source to the FieldSet component. To add the data source to the FieldSet component, you need to add the data source to the Form component.
URL
The URL data source allows you to connect to any data available on the remote web servers that the application can access through the URL. This data source provides you the access to several remote REST APIs. The application can access the “URL” data source through HTTP and HTTPS protocols, and the request can only use the GET operation to get the data from the server.
Webview URL
The “Webview URL” is a utility that has limited browser capabilities. The application can use the HTTP and HTTPS protocols to access the “Webview” URL data source. The HTTP request can only use the GET operation to get the data from the server.