
Adding Radio Button Element
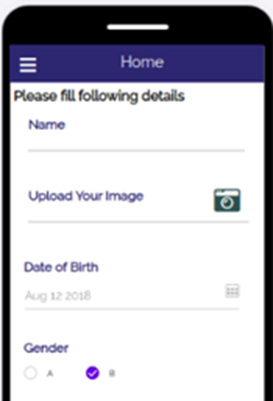
The radio button element works as a mutually exclusive option button. In the mutually exclusive option buttons, you can select only one option at a given point of time.
To add the radio button element:
- On the left navigation pane, click Standard, and the Standard menu expands.
- Under Standard, scroll down and then locate the Radio Button element.
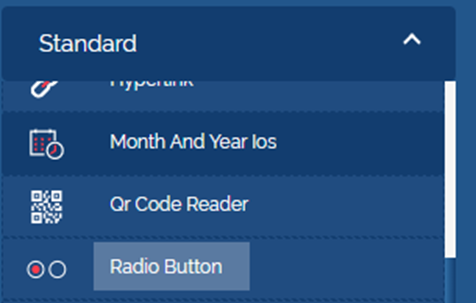
- Click the Radio Button element, and the Radio Button dialog box opens.
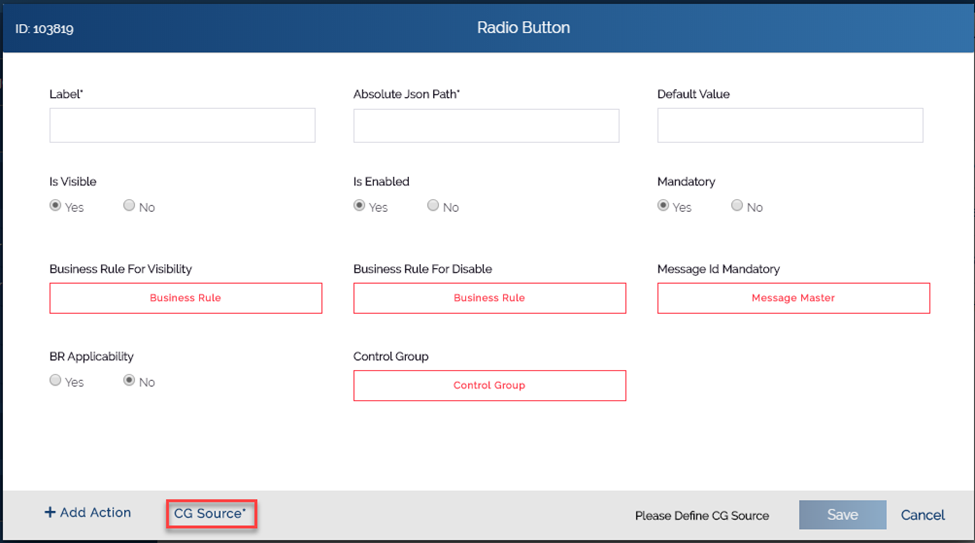
- On the Radio Button dialog box, enter values in the boxes as follows:
| Box | Description |
| Label | In this box, enter the label (For example: – Gender) of the radio button. This label name can contain multiple options as radio button. |
| Absolute Json Path | In this box, enter the absolution Json path as follows: $.POD.GENDER In the Json path, the Gender variable stores the value of radio button. |
| Is Visible | Click Yes if you want to make the element visible after the respective form is displayed. |
| Is Enable | Click Yes if you want to make the element as an active element. The user can perform the function on the active element. |
| Mandatory | Click Yes if you want to make the element as a mandatory element. |
- After you enter values in the respective boxes, click CG Source, and the CG Source dialog box opens.
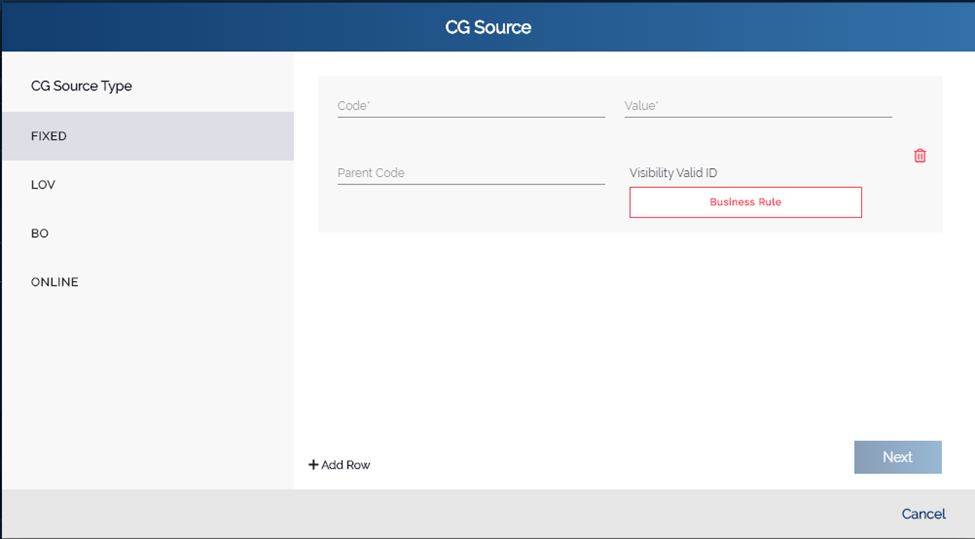
- On the CG Source dialog box, locate the CG Source left panel.
- Under CG Source, click Fixed, and a group of different fields opens.
- In the group of fields, enter values in the boxes as follows:
| Box | Description |
| Code | In this box, enter abbreviated or one character code (For example: – 1) of the actual value. For instance: – You can enter 1 numeric value as a code for the radio button with value: Male. |
| Value | In this box, enter the actual value (For example: – Male) of the radio button that is displayed on the form. |
- To add the next radio button, click Add Row (Fig 3.1.2.4 (d)), and another group of fields opens.
- In the group of fields, enter values as follows:
- In the Code box, enter 2.
- In the Value box, enter Female.
- Repeat the steps 9 and 10 to add other radio buttons.
- After you add all the radio buttons, click Next, and the Value Sequence panel displays the details of radio buttons that you have added.
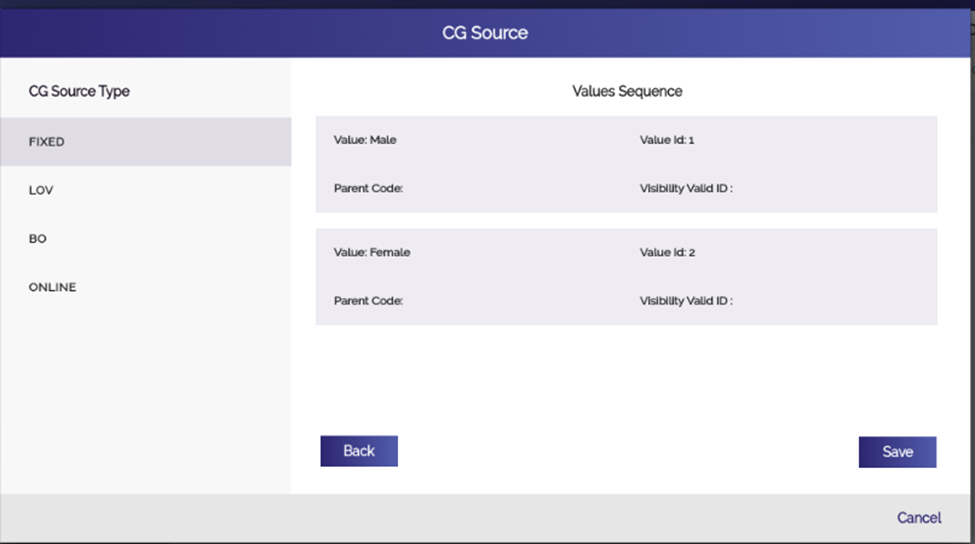
- After you ensure that the details of added radio buttons are correct, click Save, and the CG Source dialog box is closed.
- On the Radio Button dialog box, click Save, and the Radio Button element is successfully configured.
Was this article helpful?
YesNo