
Multilingual
The Vahana Cloud portal incorporates the multilingual feature. The multilingual feature allows you to configure an Indian regional language or an International foreign language for the mobile apps or web applications that are developed on the Vahana platform. After you configure the language, the application displays the content in the configured language.
First you need to register the language that you want to configure and then export a Microsoft Excel file. In the Microsoft Excel file, you can update the following types of content for your application:
- Label
- Caption
- Validation Message
- Hint
- Pop-up Message, etc
After you update the content in the file, you save the file and then import it. You can use the multilingual feature as follows:
Accessing Multilingual Feature
To access the multilingual feature, first you need to access the app for which you want to configure a language. After you access the app, you can access and then use the multilingual feature to configure the language.
To access the multilingual feature:
- On the Vahana portal?s home page, find the Quick Access toolbar.
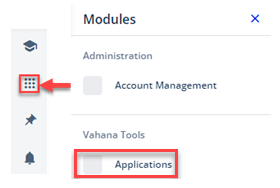
- On the Quick Access toolbar, click the nine-dot icon (
 ), and the Modules pane expands.
 - On the Modules pane, under Vahana Tools, click Applications, and the Applications window opens.

- On the Applications window, in the Search Filter box, enter the name of the app that you want to access, and the application displays the app.
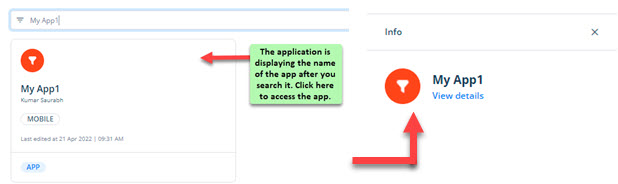
- After you find the app, click it, and the Info pane expands.
- In the Info pane, click View details, and the application dashboard opens.
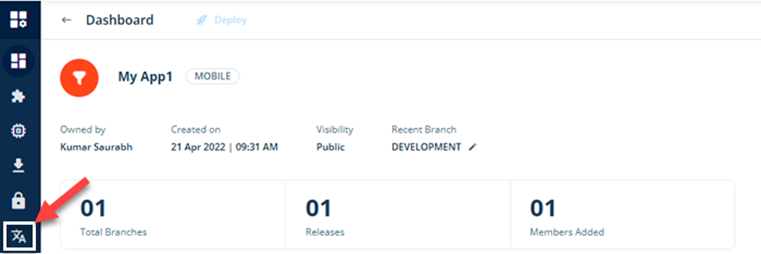
- On the dashboard, in the left navigation pane, click the Multi Lingual icon (
 ), and the Multilingual page opens.
Configuring a Language
To display the content of the application or mobile app in a specific language, you first need to configure that language by using the multilingual feature. The language configuration process includes three following sub-steps:
Registering a Language
You need to register a language, in which you want to display the content of the application.
To Register a language:
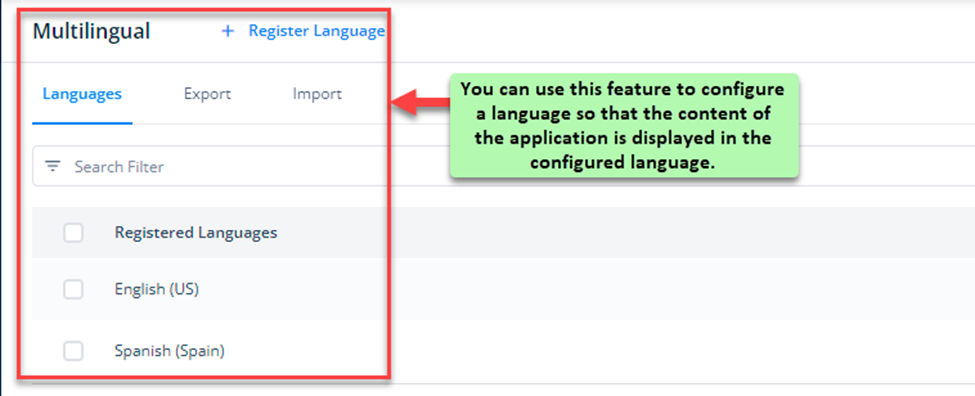
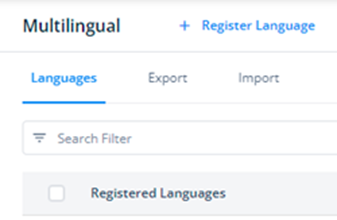
- On the Multilingual page, click the Languages tab and then click Register Language, and the Register Language dialog box opens.
- On the Register Language dialog box, click the check box to register one or more languages.
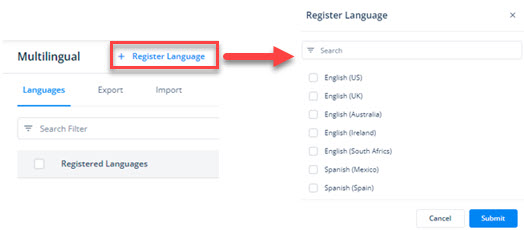
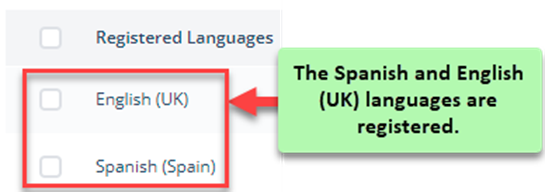
- Click Submit, and the Registered Languages area displays the list of the registered languages.
Exporting File
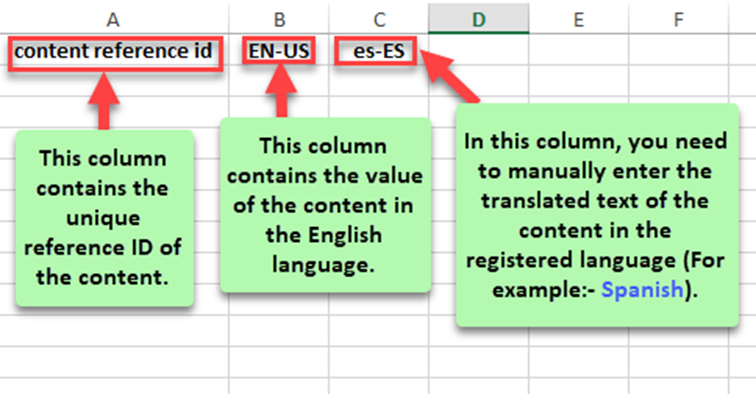
This step allows you to export an Excel file. After you export the Excel file, the Excel file displays the following columns:
- Content Reference ID
- <<Column of registered language>>
The content reference id column by default displays a unique alphanumeric value that denotes the content that the application displays to the end-user in a specific language. The usage of the content reference id is that when the application executes to display the content to the user, the Vahana cloud incorporated ?data-on? engine picks the content reference id of a specific content.
Therefore, it retrieves the corresponding object from the database on the basis of the unique content reference id. The data-on engine accesses that object and then retrieves the translated text of the content that the application displays to the end-user. In the ?<<column of registered language>>?, you need to enter the translated text of the content in the registered language. For instance: – If you have registered the Spanish language, you will enter the translated text of the content in the Spanish language in the column of the Spanish language (Refer to the following screenshot).

After you enter the translated text of the content in the Excel file, you save the file in your system locally. You can export the file as follows:
To export a file:
- On the Multilingual page, click the Export tab, and the application displays the following boxes:
| List | Description |
| Branch | Click this list and then select the branch (For example: – DEVELOPMENT) in which you want to select the app or application. For the app or application, you will configure the registered language. |
| Select Microapp | Click this list and then select the micro-app for which you want to configure the registered language. |
| Select Language | Click this list, the application displays the list of registered languages. Click the check box to select the language that you want to update in the exported file.  |
| Select Field | Click this list, the application displays the list of different types of content that you want to display in the registered language. |
- After you select the options to export the file, click Excel, and the application downloads an Excel file in the Downloads folder on your computer system.

- Access the Downloads folder and then open the exported Excel file.
- After you enter the translated text of a specific content type (For example: – Caption) in the column of the registered language (For example: – es-ES), click the File menu and then click Save.
- Click the Close button (
 ) to close the updated Excel file.
Importing File
After you enter the translated text of the content in the registered language in the exported file, you need to import the same file so that the published mobile app or web application displays the app content in the registered language (For example: – Spanish, Arabic, Punjabi, Telugu, etc.). Importing the file involves a few simple steps:
To import a file:
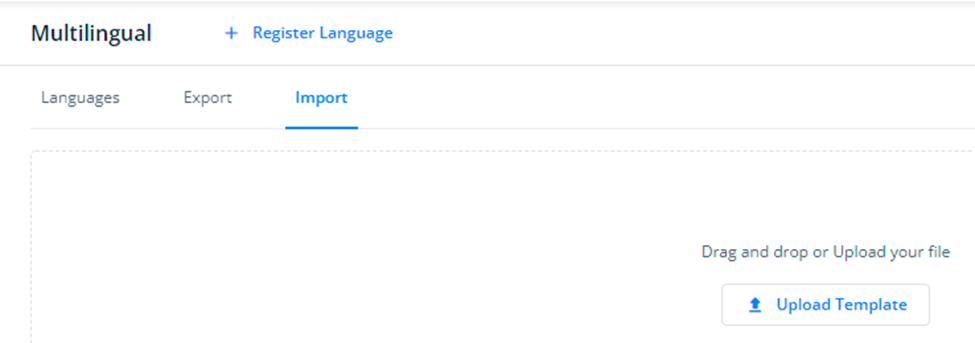
- On the Multilingual page, click the Import tab and then click Upload Template, and the Open dialog box opens.
- On the Open dialog box, locate the exported file in which you have entered the translated text of the content.
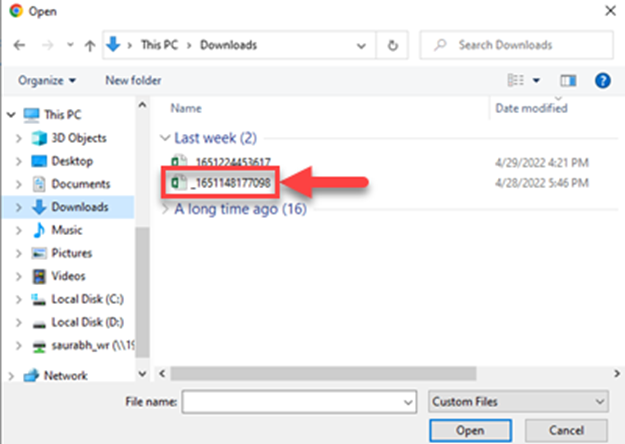
- After you locate the file, click it and then click Open, and the application displays the message: ?Uploaded successfully.?
- The file is successfully imported.
Applying Locale Task
After you successfully import the file in which you have entered the translated text in the registered language. You need to configure the Locale task on the element that the end-user clicks to download the application.
When the end-user clicks the element to download the application, the Locale task executes and then sets the registered language as the local language for the downloaded application. After the end-user accesses the downloaded application, the application displays the content in the registered language.