
Creating Member’s Profile
If you do not intend to create a group to send alerts and messages to multiple users, you can choose to create a member’s profile. In the User Management sub-module, you can use this functionality when you want to send alerts to a single member.
In this case, you can select a member’s profile when you schedule a service or configure a service to monitor it. The server will send alerts to the selected user when the scheduled service runs, fails to run at the scheduled time, or an under-monitoring service is down.
To create the member’s profile:
- On the User Management page, see the top navigation panel.

- On the top navigation panel, click Create User, and the Create User dialog box opens.
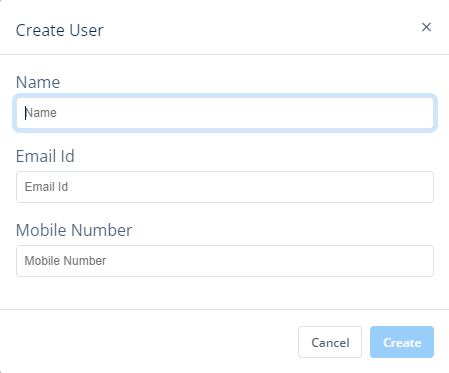
- On the Create User dialog box, perform the functions as follows:
- In the Name box, enter the user’s name.
- In the Email Id box, enter the user’s email ID. This email ID will be treated as the user’s registered email ID. On this mail ID, the user will receive alerts and messages.
- In the Mobile Number box, enter the user’s ten-digit mobile number. This mobile number will be treated as the user’s registered mobile number. On this number, the user will receive alerts and messages.
- After you enter the user’s details, click Create on the Create User dialog box, and the user’s profile is successfully created.
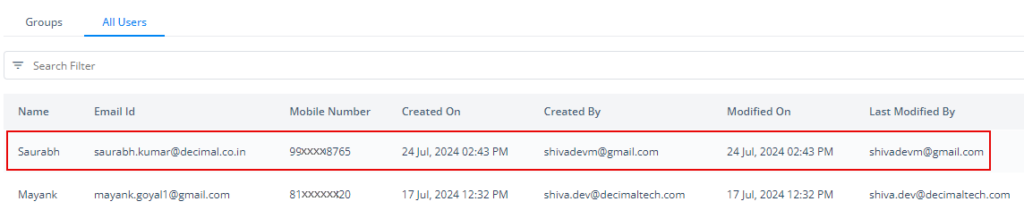
To see the profile of a newly added user or member, click the All Users tab, and then find the user’s profile in the list.
Was this article helpful?
YesNo