Adding Member
This functionality is the part of the Resources area. This post describes how to assign resource access to a member when you are accessing the Resources section.
You can also invite and add the member in the Team section or when you access the Team page. To assign a resource access to a member in the Resources section, you need to access a specific resource and then assign the resource access by adding one or more members. You can add a member as follows:
To add one or more members:
- On the Team page, see the left navigation panel.
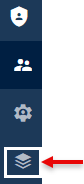
- In the left navigation panel, click the Resources icon (
 ) to display the Resources page.

- The Resources page displays the list of different resources.
- In the list, under Name, find the resource to assign its access to the user.
- After you find the resource, click it to display the Info panel.

- In the Info panel, click View details to display the View Resource page.
- On the View Resource page, see the top panel.
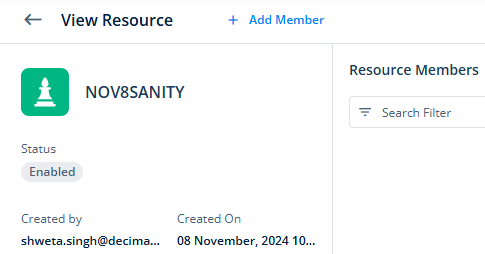
- In the top panel, click Add Member to display the Add Member dialog box.
- On the Add Member dialog box, click the Select Member list to select a member of the current workspace who you want to assign access to the current resource.
- After you select the member, click the Select role list and then select one of the following roles:
- App Admin
- App Developer
- DevOps Engineer
- After you select the member and a role to assign him, click Add Another to add other members.
- To add other members, perform steps from step 9 to step 11.
- After you add all members, click Add in the Add Member dialog box to assign the current resource’s access to the added members.
Note:- If a member already has a specific role on the current resource, you cannot assign another role to the same member on the same resource.
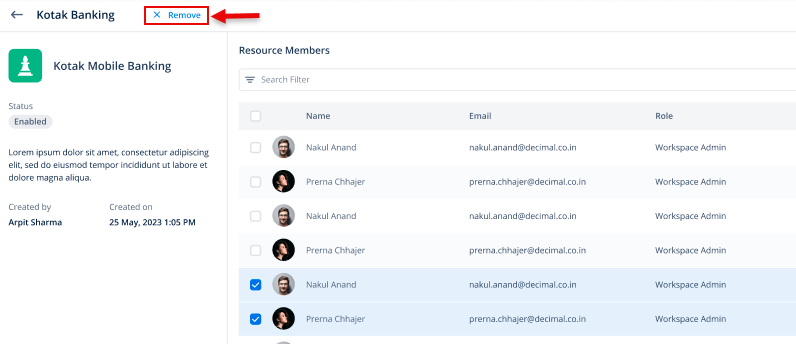
Removing Member
This functionality allows you to remove one or more members from the list of added members on the View Resource page. After you remove members from the list, they cannot access the resource.
To remove one or more members:
- On the View Resource page, see the Resource Members area.
- In the Resource Members area, see the list of different members.
- In the list, under Name, find the member who you want to remove.
- After you find the member, click the adjacent left check box to select the member.
- Repeat steps 3 and 4 to select other members.
- After you select one or more members, click Remove Member in the top panel, and selected members are removed from the list.