
Creating a vFlow Application
To initiate a new project on the Vahana portal, you first need to create a new application, which serves as a project identifier, helping you manage various project activities efficiently.
For instance: If you are developing a new web-based application for XYZ customers, you would name the application “XYZ Bank Customer Application.” Similarly, for a project related to ABC Bank, you might create “ABC Customer Application.”
Each new project requires creating a corresponding application on the Vahana portal, giving you access to all cloud-integrated modules. There are two ways to create a new application:
- Using the Dashboard
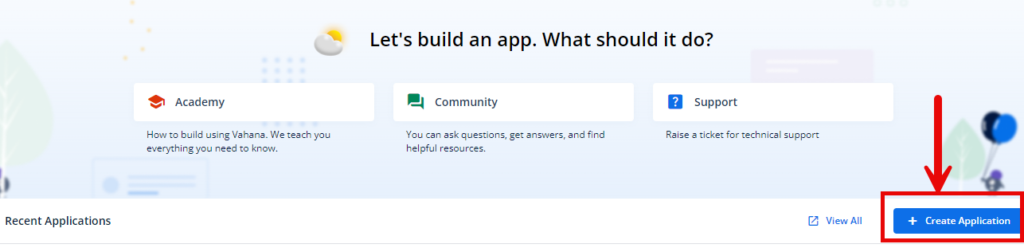
- On the Vahana portal’s dashboard, click “Create Application” located on the right of the screen.
- Using the Left Navigation Panel:
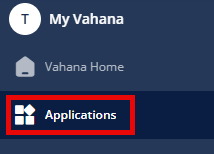
- Hover over the left navigation panel to expand it. Under “My Vahana,” click “Applications,” and the Applications page will open. After that click “Create Application (
 )” located on the top-left.
- Hover over the left navigation panel to expand it. Under “My Vahana,” click “Applications,” and the Applications page will open. After that click “Create Application (
Now follow the steps given below:
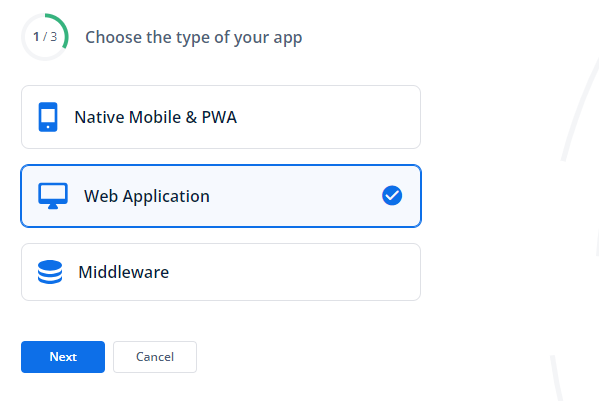
- On the ‘Choose the type of your application‘ page, choose ‘Web Application‘ for vFlow.
- Choose the type of your app as “Web Application” for vFlow 2.0.
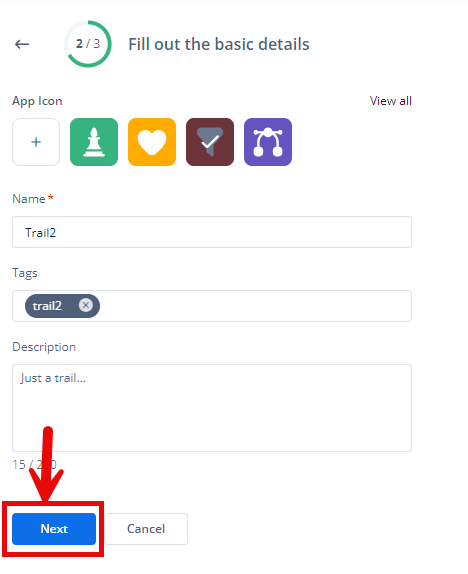
- On the subsequent page, fill out a list of basic details:
| List | Description |
| Upload or Choose Icon | Click the plus icon ( |
| Name | In this box, enter the application’s name (for example, MyFirstApp). |
| Tags | In this box, enter an alphanumeric value (for example, first, app, and first_app1). This value is treated as a tag or identifier that helps you search for the current application in a group of multiple applications. |
| Description | In this box, enter a general description or a reason to create the current application. |
- After entering the application’s basic details, click Next to go to the next page.
- On this page, you can connect to the middleware by selecting the workspace and application name and submitting it, or skip the step if you don’t want to connect to the middleware.
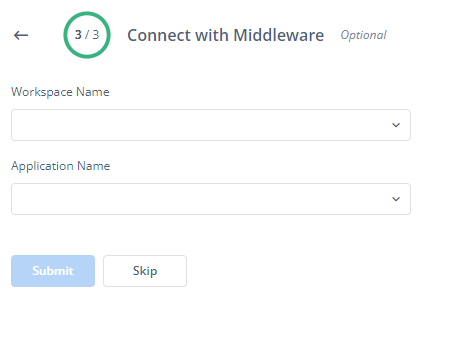
- Note:
- If you do not connect your application to the middleware, it will function as a dummy application with limited capabilities.
- Without the middleware connection, features such as API integrations and real-time data transfer will not be available.
- However, you can connect to the middleware later to enable full functionality.
- As you submit or skip to create a new application, you are redirected back to the Vahana portal’s dashboard.
Now let’s explore how to access the application.
Was this article helpful?
YesNo