
Layout
In the vFlow module, a layout is a virtual container. When you create a page in the application, it is created with a default layout. In a page, the page’s layout’s name is prefixed by the name of the page. An empty layout is composed of the following:
- A default row, which is referred to as L1_R1.
- A column, which is referred to as Column1.
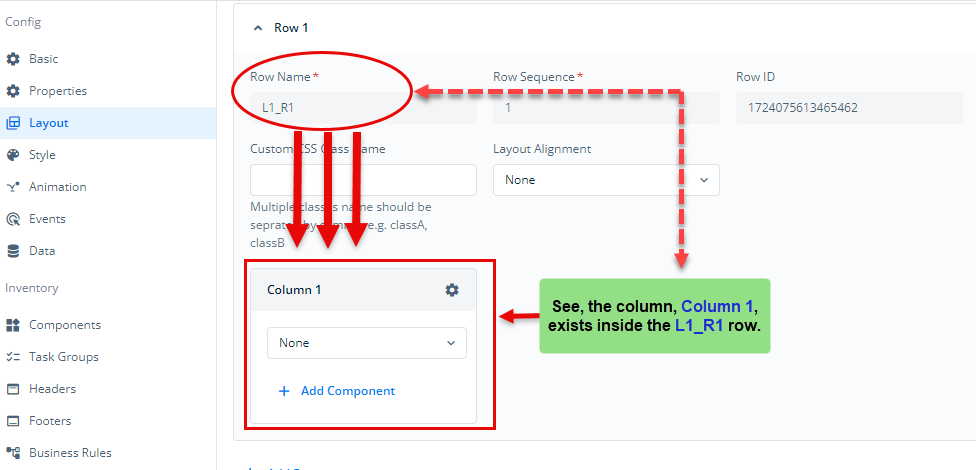
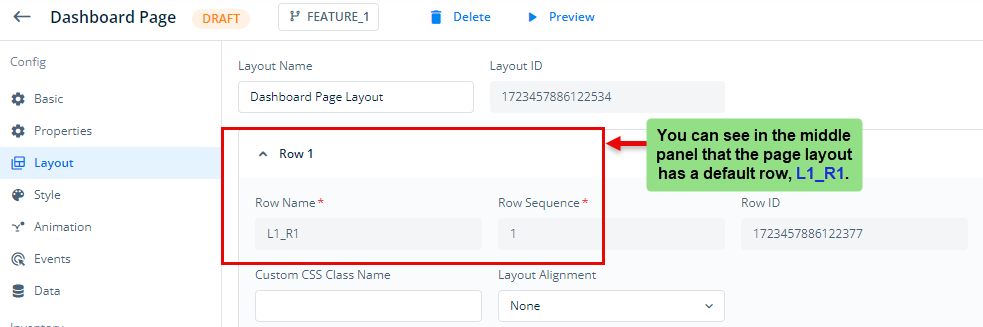
In the default structural composition of the page layout, a page layout contains the default row, L1_R1. You can see this naming convention in the following screen capture:

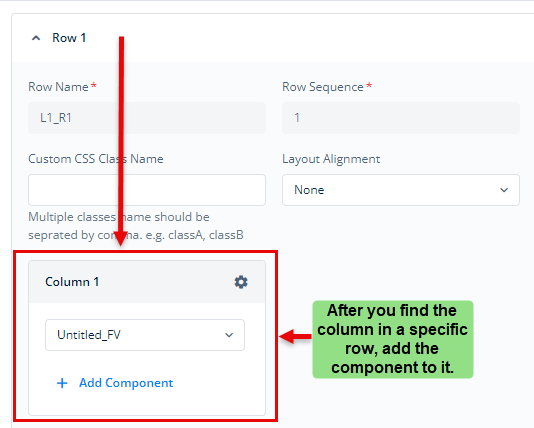
Thus, the L1_R1 row also contains a default column, Column 1. The following screen capture shows Column 1, which is a child container or column in the L1_R1 row.
The purpose of a page layout is to design a page. You design a page following a planned scheme of wireframes. By following a final and approved wireframe, you add components and elements to a page layout. In the page layout, you can only add components and elements to the column container (for example, Column 1).
Layout’s Properties
A page’s layout contains the following basic properties:
| Property Name | Description |
| Layout Name | This field displays the default layout name. You can also change the default name of the layout to a new name. |
| Layout ID | This field displays a unique and non-editable numeric value, which is called layout ID. The Layout ID is used to manage the page’s layout at the application level. |
In the page’s layout, you can perform the following functions:
Adding a Row
Apart from the default row, you can add a row to the page layout when you want to display two different sections row-wise on a page.
To add a new row to the page layout:
- On the <<Page Name>> page, see the middle panel.

- The middle panel displays the page layout’s default row, L1_R1.
- To add another row to the layout, scroll down the page, and then see Add Row.
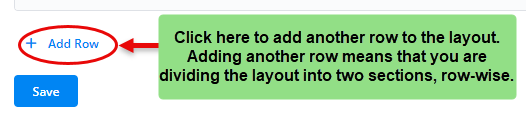
- Click Add Row to add a new row.
Row-level Properties
After you add a new row, you can configure its properties as follows:
| Property Name | Description |
| Row Name | This field displays the name (for example, L1_R1) of the row section in the layout. This name is non-editable. When you add a new row, the Row Name field automatically displays the row’s name in non-editable format. |
| Row Sequence | This field displays the sequence number of the row from the top of the layout. This field is also non-editable. After you add a row, the Layout property automatically defines the sequence number of the row section. |
| Row ID | This field displays a unique and non-editable numeric value. This value is called row ID. When you create a row in the layout, the vFlow module automatically creates and assigns a unique row ID to the row. This row ID helps manage the row at the application level. |
| Custom CSS Class Name | In this field, enter the name of the CSS class that you implement under the Theme section in the General Settings menu. |
| Layout Alignment | You configure this property to define the position of a layout’s row by selecting one of the following options: a. Center Center b. Start Center c. Center Start d. End Center e. Center End These alignment options are visually depicted in the following heading section. |
Adding a Column
You add a column when you want to display two vertical sections in the page layout. To add a column:
- On the <<Page Name>> page, see the middle panel.
- In the middle panel, find a row (for example, Row 1) where you want to add a column.
- In the row (for example, Row1) panel, see Add Column in the right section.

- Click Add Column to add a new column.
Layout Alignment Options
| Option | Visual Presentation |
| Center Center | 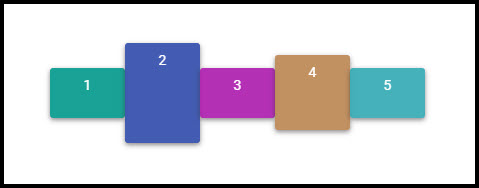 |
| Start Center | |
| Center Start | 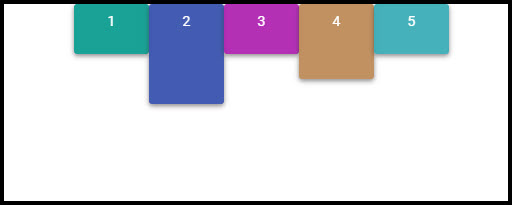 |
| End Center | 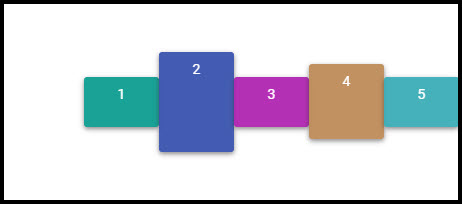 |
| Center End |
Adding a New Component
To design a page based on the planned wireframe, you add one or more components to a page layout. In the vFlow 2.0 module, a component is a user interface with a specific purpose or a collection of multiple user interfaces.
To add a component to the page layout:
- On the <<Page Name>> page, see the middle panel.
- In the middle panel, find a row (for example, Row 1) where you want to add a component.
- After you find the row, find the column (for example, Column 1) where you want to add a component.
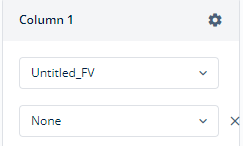
- Under <Column Name>> (for example, Column 1), click Add Component to display a None box.
- Click the None box, and then click Create New to display the Create Component dialog box.
- In the Create Component dialog box, in the Name box, enter the component’s name (for example, first_form_dashboard).
- Click the Type list and then select the component’s type (for example, Form).
- After you define the component’s name and select its type, click Create to create a new component.
- After you create the new component, the <<component_name>> page opens.
Note:- On the <<component_name>> page, you can change the reference name of the component.
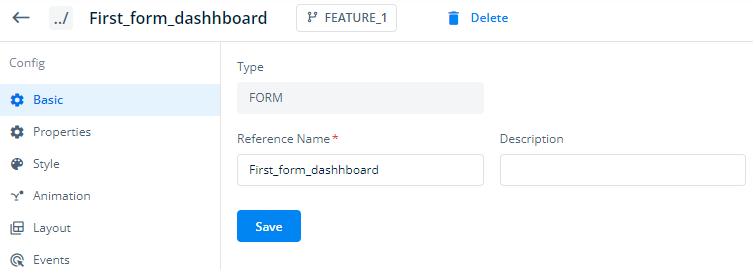
- On the <<component_name>> page, click Save to finally update the newly created component.
Linking New Component to Page
After you create a new component, you can link it to a page as follows:
To link the component to a page:
- On the vFlow 2.0 module’s dashboard, see the left panel.
- Put the mouse pointer on the left panel.
- In the left panel, click Inventory to display the Inventory panel.
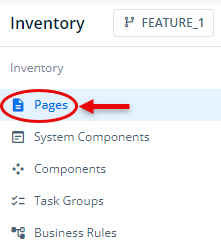
- In the Inventory panel, under Inventory, click Pages to display the list of different pages in the application.
- In the list of pages, under the Reference Name column, find the page that you want to link to a component.
- After you find the page, move the mouse pointer to the right and then click the Edit icon (
 ) to display the page-related dashboard.
 - In the page-level dashboard, see the Config panel.
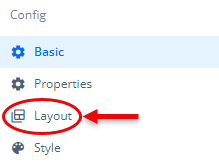
- In the Config panel, click Layout to display layout-related properties.
- In the right panel, see the row (for example, Row 1) where you want to link the component.
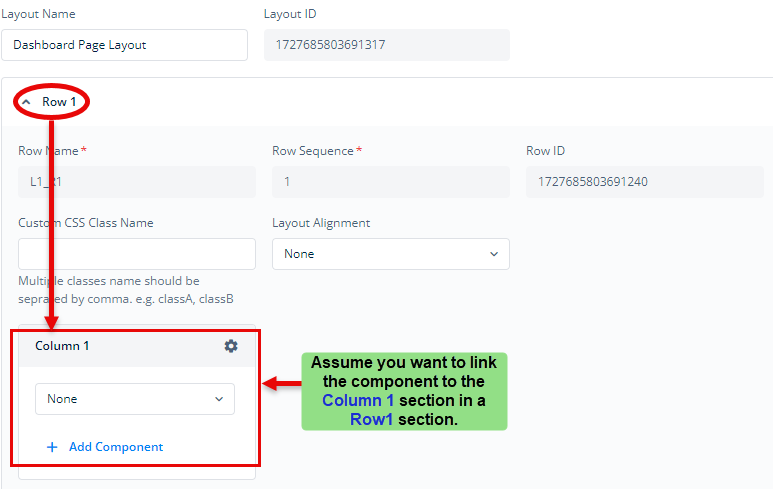
- In the row section, see the column (for example, Column 1) where you want to link the component.
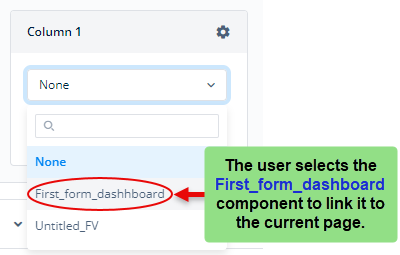
- In the column, click the None list and then select the component to link it to the current page.
- After you select the component in the None list, click Save (
 ) at the bottom of the page to link the selected component to the current page.