
Registering SDK
Overview
There are different SDKs that serve different purposes on the vahana platform while making an application through vDesigner or vFlow. While registering some of them is as easy as clicking the register button, registering others may require you to fill in some information such as its API keys, Authentication Token or Licence Keys, et-cetera.
So, let’s start with learning about the journey to register:
Steps to Register an SDK
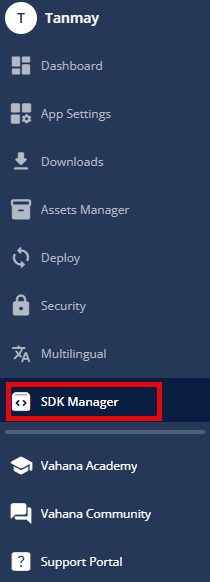
- Access the SDK Manager
- Open a pre-existing application or create a new one.
- On the Application Dashboard, click on the SDK Manager icon located in the L1 menu.
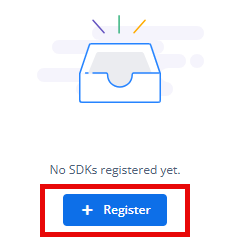
- Open the SDK Registration Page
- If no SDKs are registered, click the “Register SDK” button to view the list of available system-defined SDKs.
- Select an SDK
- From the displayed list, choose the SDK you want to register.
- Review the details provided, including the name, description, version, licensing, and size.
- Fill in Configuration Details
- Enter the required settings specific to the selected SDK, such as: API keys, Endpoints, Authentication tokens or License key, and Custom or RD service settings.
- Submit Registration
- After completing the required fields, click “Register” to add the SDK to your registered list.
- Verify Registration
- Confirm that the SDK is now listed under Registered SDKs.
- View detailed information about the SDK, including configuration, version, licensing, and file size.
- Build Trigger Requirement
- To activate the newly registered SDK, trigger a new build of the application.
Was this article helpful?
YesNo