
Creating Members’ Group
If you want to send alerts to more than one user, you need to create a users’ group. The sever will send alerts related to scheduled services or services under monitoring to these users’ groups.
To create a Members’ group:
- On the User Management page, see the top panel.

- In the top panel, click Create Group, and the Create Group dialog box opens.
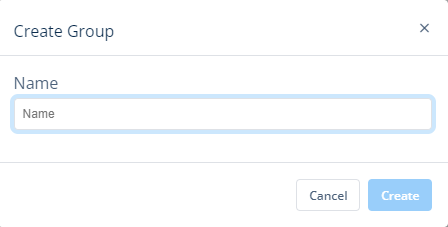
- In the Create Group dialog box, enter the group’s name (for example, Group for Auth Service), and then click Create to successfully create a new group.

Adding Members to Group
After you succcessfully create a group, you can add two or more members to the group.
To add members to the group:
- On the User Management page, under Groups tab, see the list of different groups.
- Under Group Name, find the group to add members to it.

- After you find the group (for example, Group for Auth Service), click its name, the <<Group Name>> page opens.
- On the <<Group Name>> page, click Modify Member, and the Modify Member dialog box opens.
- On the Modify Member dialog box, under Email, find the member who you want to add.
or
- Click in the Search Filter box, and then enter the member’s name.
- After you enter the member’s name, the dialog box displays the member’s name.
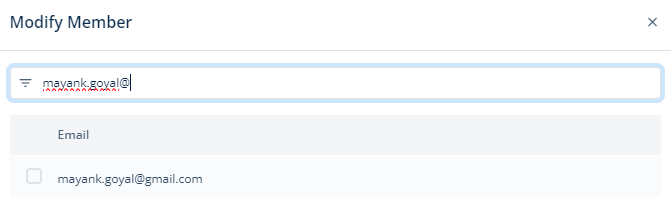
- After you find the member’s name, click the left check box to select it.
- Repeat steps from step 5 to step 8 to select other members.
- After you select members to add them to the group, click Update on the Modify Member dialog box, and the All Members panel displays the list of added members.

Thus, as explained in the last screen capture, you can select this group when you schedule a service to run it at the scheduled time or you configure a service to monitor it.
Was this article helpful?
YesNo