Security
Security is one of the important modules in the Vahana Cloud. It allows you to configure security access policies for the application that you design in vDesigner. Before publishing a mobile app, you necessarily need to configure inbuilt access policies.
While configuring access policies for an application, you can define several session-related timeframes, requirements of app-related logs, and others.
The Security module allows you to configure the access policies at the environment level. It means you can apply a security policy or a set of policies to all applications created under an environment.
You can define the access policies as follows:
- On the Vahana portal’s dashboard, click View All to display the Applications page.

- On the Applications page, find the application or enter the application’s name in the Search filter box to find it.
- After you find the application, double-click it to display the Dashboard page.
- On the Dashboard page, put the mouse pointer on the left panel to expand it.
- In the left panel, click Security (
 ) to display the Security page.
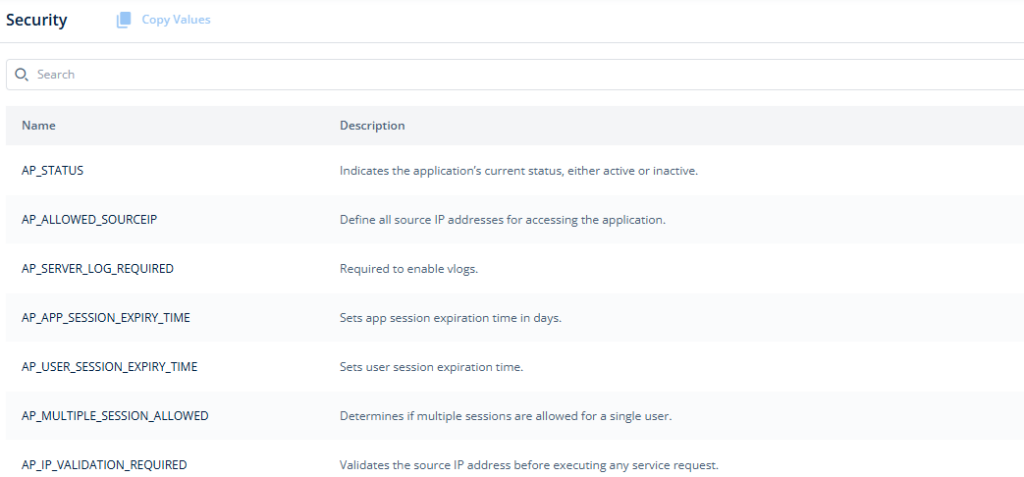
- On the Security page, configure different access policies.
- In the list of policies, find a policy (for example, AP_SERVER_LOG_REQUIRED).
- After you find the policy (for example, AP_SERVER_LOG_REQUIRED), put the mouse pointer on its name to display the Edit icon (
 ).
). - Click the Edit icon (
 ) to display the <<Policy Name>> (AP_SERVER_LOG_REQUIRED) page.
 - The <<Policy Name>> page displays the list of environments.
Note:- To view the complete list of environments, your current application must be connected to the middleware application. You can connect the current application to the middleware application when you create an app on the Vahana cloud or go to the App Settings module to connect the application to the middleware application.
- On the <<Policy Name>> page, configure a policy as follows:
| Policy | Description | Selecting or Entering a Value |
| AP_STATUS | This policy allows you to define the current status of the application. | Click the Value box to select one of the following values: i.) Active:- Select it to turn the status of the application to active. The user can access the active application. ii) Inactive:- Select it to turn the status of the application to inactive. The user cannot access the inactive application. 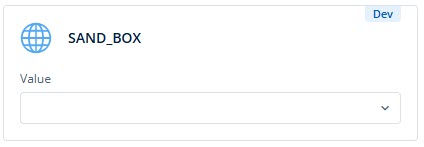 |
| AP_ALLOWED_SOURCEIP | This property allows you to define all source IP addresses so that the end-user can access the application. | In the Value box, enter the 32-bit IPv4 address.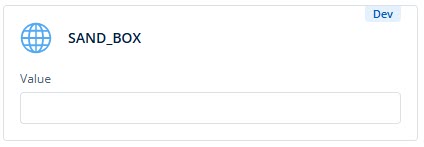 |
| AP_CLIENT_SECRET | When you access this policy, the <<environment name>> page displays the client secret key. It is used to connect the application to the Vahana Run Time Manager. The client secret key is a dash characters separated alphanumeric value (7485454b-310a-4dfe-6435-097ec93cf66b). Note:- If the AP_CLIENT_SECRET box does not display the client secret key, contact the Decimal Technologies’ dev ops team. | |
| AP_SERVER_LOG_REQUIRED | You can configure this property to make the logs available or unavailable to the end-user. | Click the switch to turn it blue. Turning the switch blue makes the application related logs available to the end user. Turning the switch gray makes the application related logs unavailable to the end user.  |
| AP_APP_SESSION_EXPIRY_TIME | Use this policy to define the number of days until the application session will not expire. If the app session expires, the user needs to restart the mobile app by tapping its icon. | In the Value box, enter a numeric value (for example, 4). This value specifies number of days until the application session will not expire. |
| AP_USER_SESSION_EXPIRY_TIME | Configure this policy to define the time frame until the current user session remains active in the application. After this timeframe, the current user session will be terminated automatically. | In the Value box, enter a numeric value (for example, 1680). This value specifies the timeframe in minutes.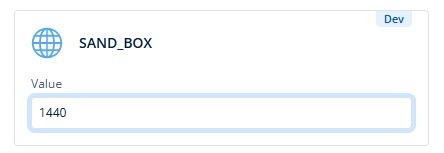 |
| AP_MULTIPLE_SESSION_ALLOWED | Use this policy to define if you want to allow multiple sessions to a single user. | Click the switch to turn it blue. Turning the switch blue allows multiple sessions to a single user. Turning the switch gray makes the multiple sessions unavailable to a single user.  |
| AP_IP_VALIDATION_REQUIRED | Use this policy to configure the feature that validates the source IP address before executing a service request. | Click the switch to turn it blue. Turning the switch blue enables the feature that validates the source IP address before executing a service request. Turning the switch gray disables the feature that validates the source IP address before executing a service request.  |
| AP_INACTIVE_SESSION_REQUIRED | Use this policy to make the inactive session management feature available or unavailable for the current application. The inactive session management feature automatically terminates the current session if the end-user does not remain active or perform a function in the application for a specific time period. | Click the switch to turn it blue. Turning the switch blue enables the inactive session management feature. Turning the switch gray disables the inactive session management feature.  |
| AP_INACTIVE_SESSION_EXPIRY_TIME | Use this policy to define a time frame (for example, 1680) in minutes. This value specifies a maximum permissible time frame to the end user’s inactive session. If the end user’s inactive session (when the user remains inactive or does not perform a function in the application) exceeds this timeframe, the application automatically expires the current session. | In the Value box, enter a maximum user’s inactive time frame (for example, 1680) in minutes.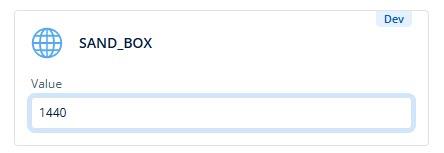 |
